SublimeReptiles
New member
This is what I built for my babies, and was only around $50 total for a 15 drawer system.
Tools needed; Drill, 3/16" drill bit, tape measure, philips head screwdriver, hammer, and a pencil/pen.
Stores; Wal-mart - 3 case bookshelf. Lowe's - Two (2) pre-cut shelves w/ finished edges. Also pegs for support of the shelves.
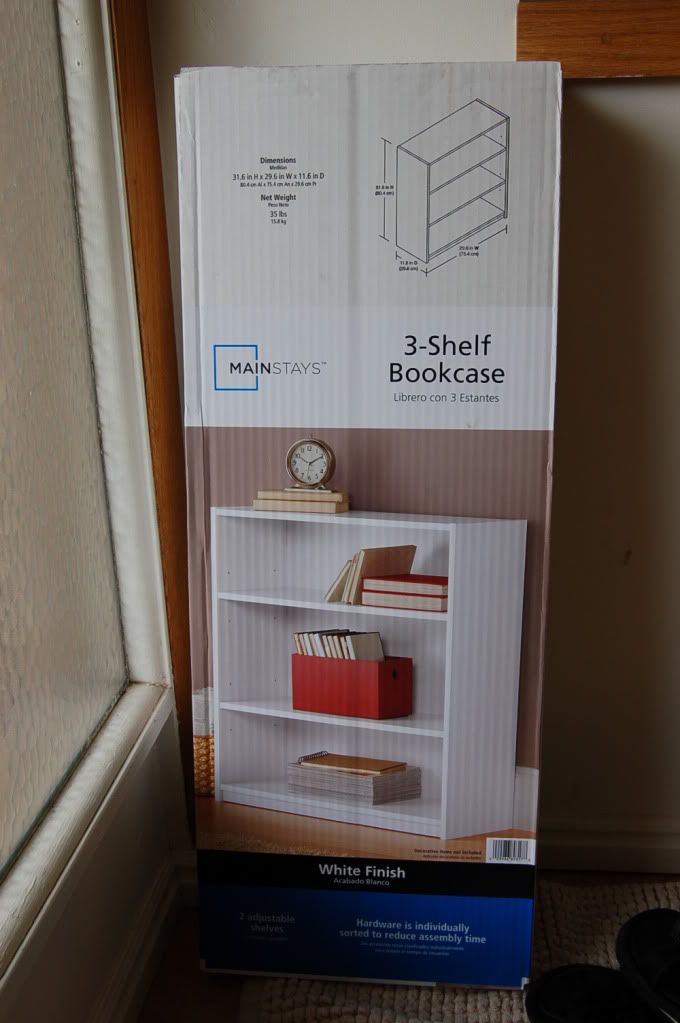
First, Go to wal-mart. They sell a "3 shelf bookcase" in 3 different colors. White, Black, or wood grain. The measurements are 31.6" H x 29.6 W x 11.6 D, I know they are some odd measurements.") The cost of the this bookcase is $19. Remember, this only comes with two (2) shelves. All of the materials to assemble the shelves are included. You will also need to get 15 rubbermaid, or similar, shoe box containers (less if needed). I chose the new 6.5qt containers by Rubbermaid instead of the 6qt ones. They look nicer, and lids fit tighter.
The cost of the this bookcase is $19. Remember, this only comes with two (2) shelves. All of the materials to assemble the shelves are included. You will also need to get 15 rubbermaid, or similar, shoe box containers (less if needed). I chose the new 6.5qt containers by Rubbermaid instead of the 6qt ones. They look nicer, and lids fit tighter.
Pic of the bookshelf box;
Next, go to lowe's. Located in the shelving section you will find pre-cut shelves that will fit perfectly with the wal-mart ones. If they don't, they will have something VERY similar that they will cut for you. The shelf measurements are, 28 1/4" x 11 1/2".
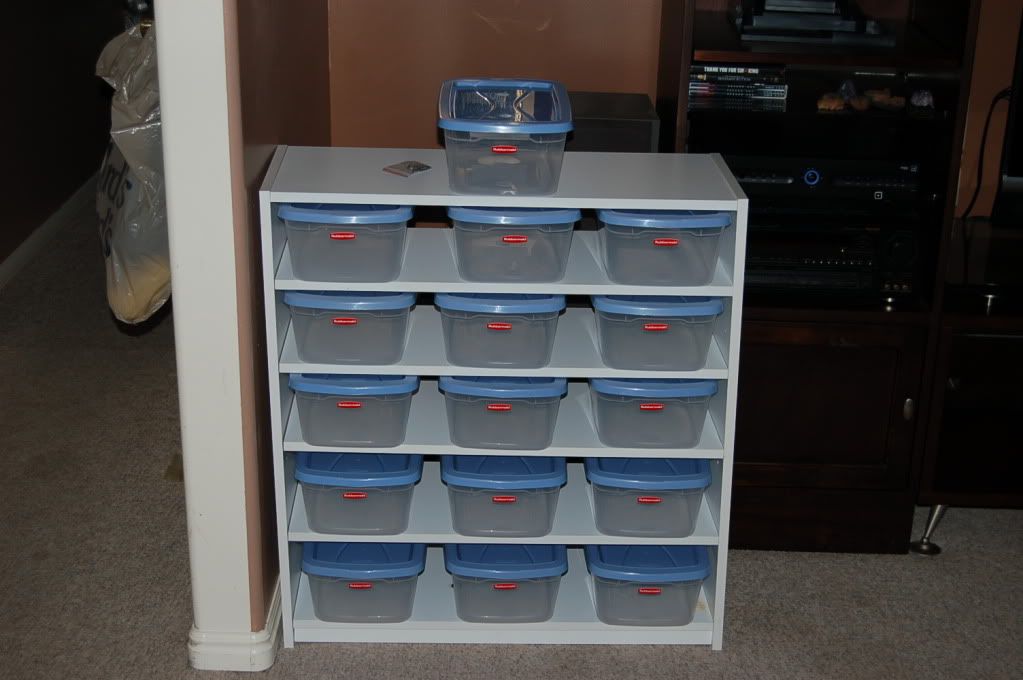
Then, assemble the shelves with the instructions given. Once you have done that, you will need to figure out what factory drilled holes you will use and, the ones you will need to drilled for the extra shelves. I used 2 holes provided and measured and drilled for the two other shelves. This is why there is more space on the bottom two then the top. If you want, you can space them out evenly if you want to drill all holes for the pegs on all 4 shelves. If you don't want to use pegs, you can use some wood screws to secure the shelves. This is the way I did it for extra strength. Be sure to predrill screw holes so you do not crack the wood. The shelves comes with a strong backboard backing that will also help support the rack system if you don't want to use screws.
Finally, you are done unless you want heat. I just used 3" flex watt and cut holes on the cardboard backing for the wires. There are many websites with info on how to do this step.
Remember, this is a great set up for a small hobbiest. It's probably not the greatest rack system... but for the people on a budget it works awesome!unch:
Finished product (with out the flex watt and back section)
Tools needed; Drill, 3/16" drill bit, tape measure, philips head screwdriver, hammer, and a pencil/pen.
Stores; Wal-mart - 3 case bookshelf. Lowe's - Two (2) pre-cut shelves w/ finished edges. Also pegs for support of the shelves.
First, Go to wal-mart. They sell a "3 shelf bookcase" in 3 different colors. White, Black, or wood grain. The measurements are 31.6" H x 29.6 W x 11.6 D, I know they are some odd measurements.
The cost of the this bookcase is $19. Remember, this only comes with two (2) shelves. All of the materials to assemble the shelves are included. You will also need to get 15 rubbermaid, or similar, shoe box containers (less if needed). I chose the new 6.5qt containers by Rubbermaid instead of the 6qt ones. They look nicer, and lids fit tighter.Pic of the bookshelf box;
Next, go to lowe's. Located in the shelving section you will find pre-cut shelves that will fit perfectly with the wal-mart ones. If they don't, they will have something VERY similar that they will cut for you. The shelf measurements are, 28 1/4" x 11 1/2".
Then, assemble the shelves with the instructions given. Once you have done that, you will need to figure out what factory drilled holes you will use and, the ones you will need to drilled for the extra shelves. I used 2 holes provided and measured and drilled for the two other shelves. This is why there is more space on the bottom two then the top. If you want, you can space them out evenly if you want to drill all holes for the pegs on all 4 shelves. If you don't want to use pegs, you can use some wood screws to secure the shelves. This is the way I did it for extra strength. Be sure to predrill screw holes so you do not crack the wood. The shelves comes with a strong backboard backing that will also help support the rack system if you don't want to use screws.
Finally, you are done unless you want heat. I just used 3" flex watt and cut holes on the cardboard backing for the wires. There are many websites with info on how to do this step.
Remember, this is a great set up for a small hobbiest. It's probably not the greatest rack system... but for the people on a budget it works awesome!
unch:Finished product (with out the flex watt and back section)