DdotSpot
The Snewbie
If you are electrically challenged..hopefully this will be a good tool for you. Obviously there are many different ways that you can do this, but I thought it fitting to post simple and effective step-by-step instructions for an easy design.
DISCLAIMER: If you are under the age of 16, I would recommend adult supervision...remember, you are making an electrical device...electricity will be involved!!!
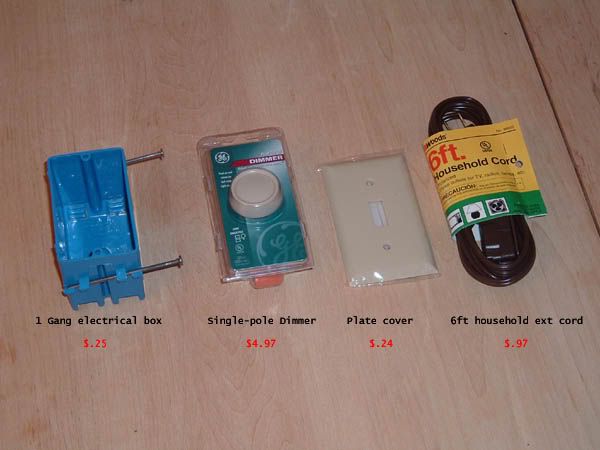
Ok let's start off with the ingredients....
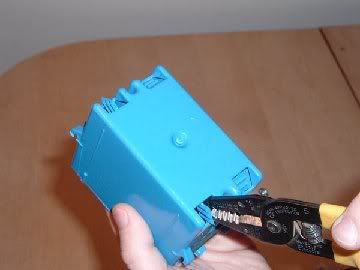
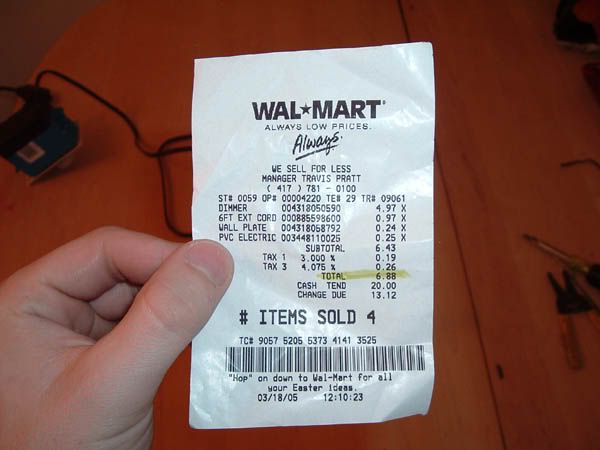
Here is my proof of purchase. All of these items you should be able to pick up at your local Wally World. If you can't find them there, you might try a local electric supply or Lowes.
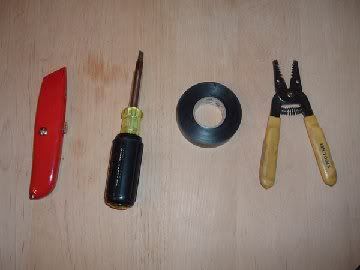
Here are the tools that you will need...I have a 12 in 1 screwdriver, but most likely all you'll need is a flat-head. The electrical tape is optional, but HIGHLY recommended.
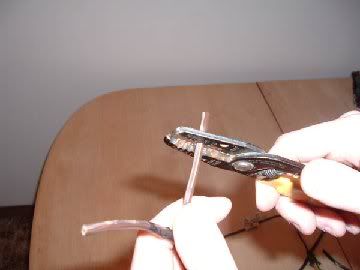
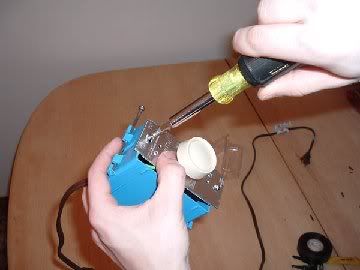
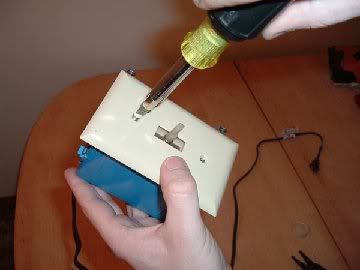
OK...now for STEP 1:
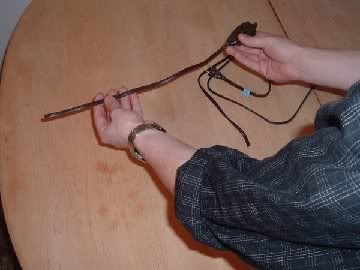
Cut the exension cord approx. 1.5ft from the pictured end.
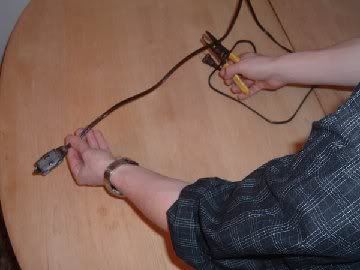
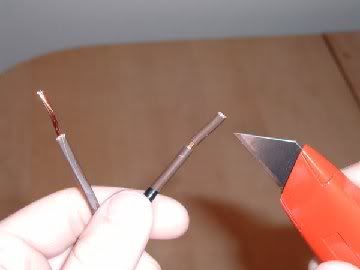
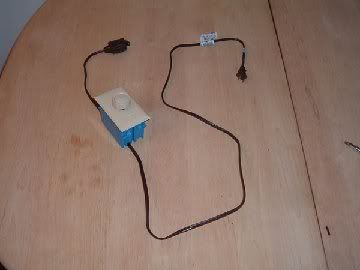
STEP 2:
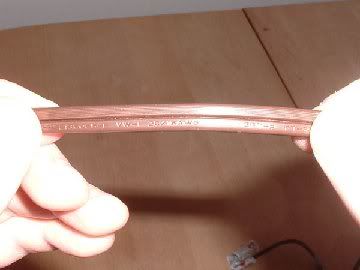
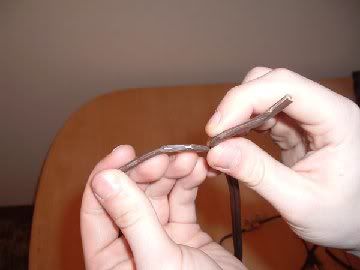
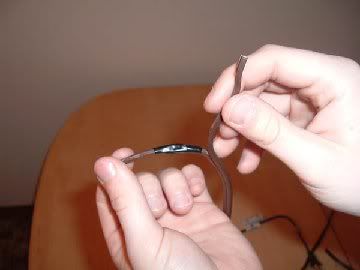
Take the shorter piece of wire...
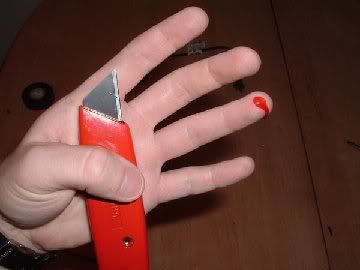
...and you want to split the two wires by using your razor blade to cut down the VERY center of the two.
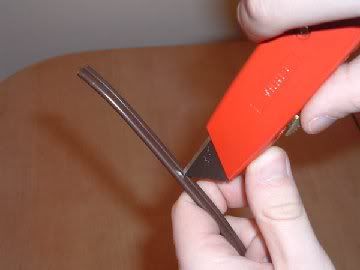
Be careful and go slowly, you don't want to mess up and expose the wiring...
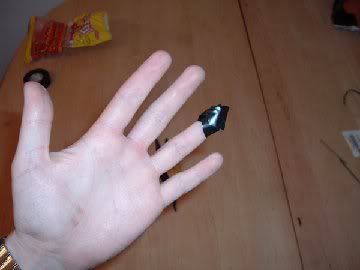
If you do, don't worry...electrical tape will patch that right up!
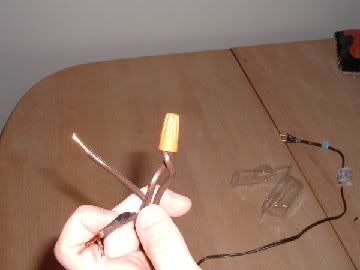
Also...be VERY careful with the sharp object and CUT away from your body...
Not to worry again, electrical tape will patch that right up too!!
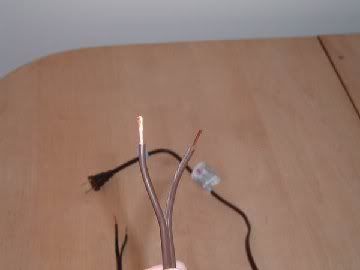
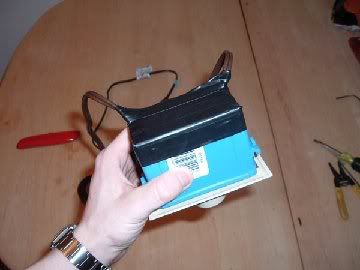
Continued on next post...
DISCLAIMER: If you are under the age of 16, I would recommend adult supervision...remember, you are making an electrical device...electricity will be involved!!!
Ok let's start off with the ingredients....
Here is my proof of purchase. All of these items you should be able to pick up at your local Wally World. If you can't find them there, you might try a local electric supply or Lowes.
Here are the tools that you will need...I have a 12 in 1 screwdriver, but most likely all you'll need is a flat-head. The electrical tape is optional, but HIGHLY recommended.
OK...now for STEP 1:
Cut the exension cord approx. 1.5ft from the pictured end.
STEP 2:
Take the shorter piece of wire...
...and you want to split the two wires by using your razor blade to cut down the VERY center of the two.
Be careful and go slowly, you don't want to mess up and expose the wiring...
If you do, don't worry...electrical tape will patch that right up!
Also...be VERY careful with the sharp object and CUT away from your body...
Not to worry again, electrical tape will patch that right up too!!
Continued on next post...