JustineNYC
New member
Hi everyone!!
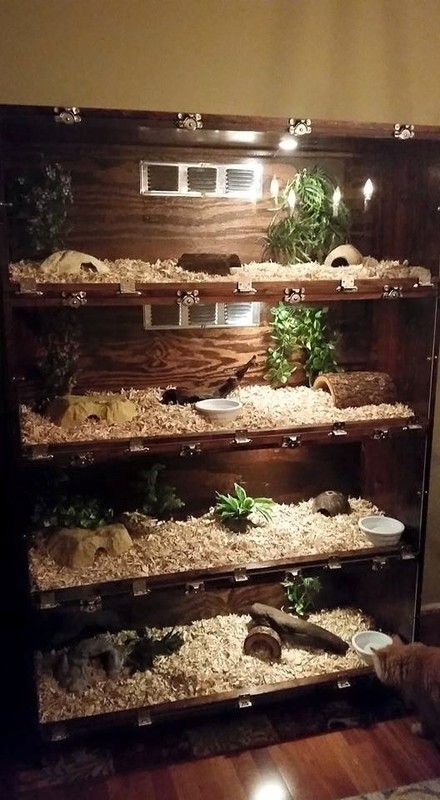
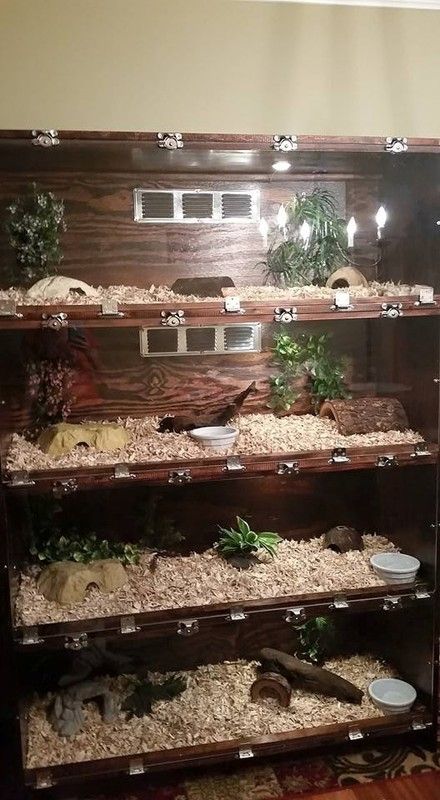
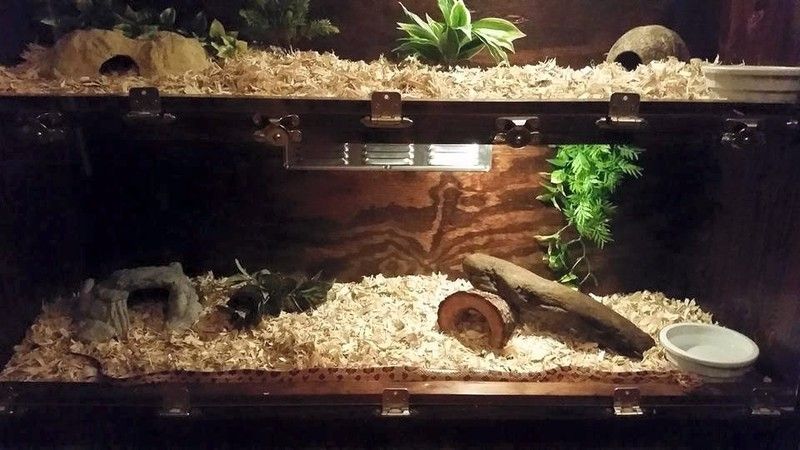
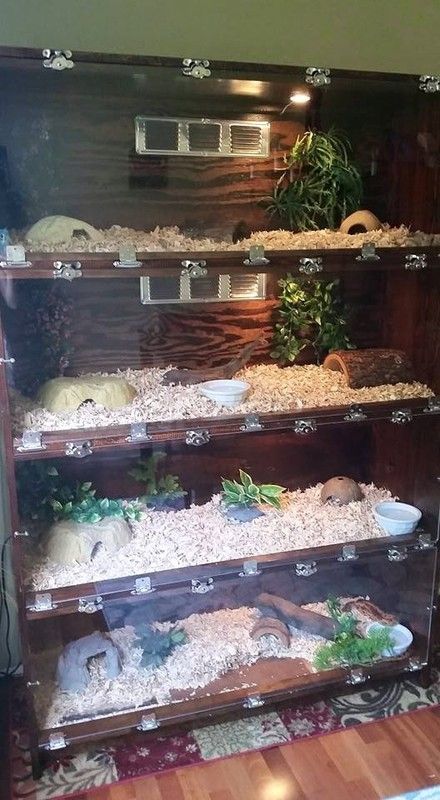
My boyfriend and I finally completed our new vivarium.
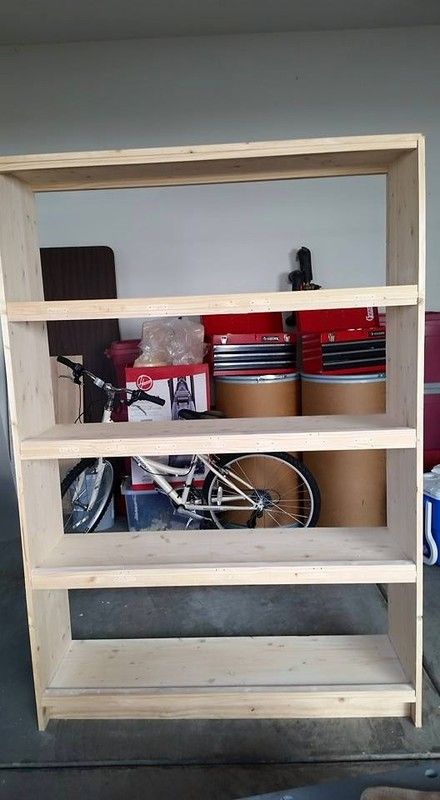
The dimensions are 72 H by 49 long by 18 deep. (The interior dimensions are 48 inches long by 18 deep
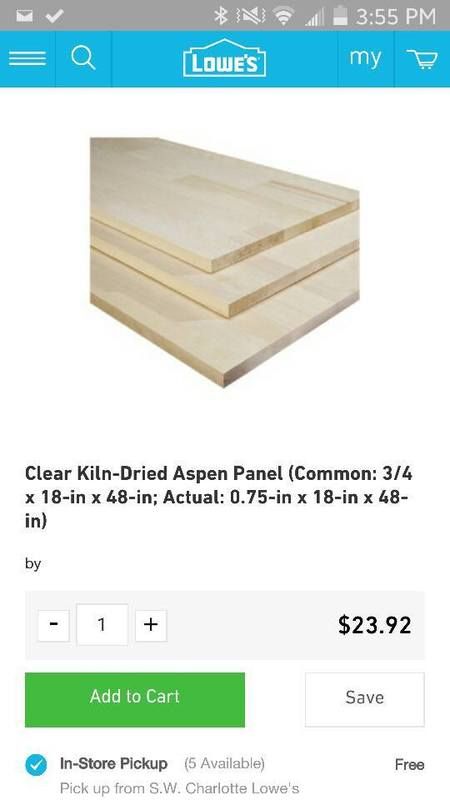
We got the wood at Lowes, I believe its birchwood and the part we used for the shelves already comes in 48 by 18 sheets, so we didn't need to cut them. My boyfriend cut the sides, and the backs from bigger pieces though. Whatever kind of wood you choose, choose something that will look nice when stained. Everything is nailed together with a nail gun, except the back, the back is plywood, and is screwed into the frame.
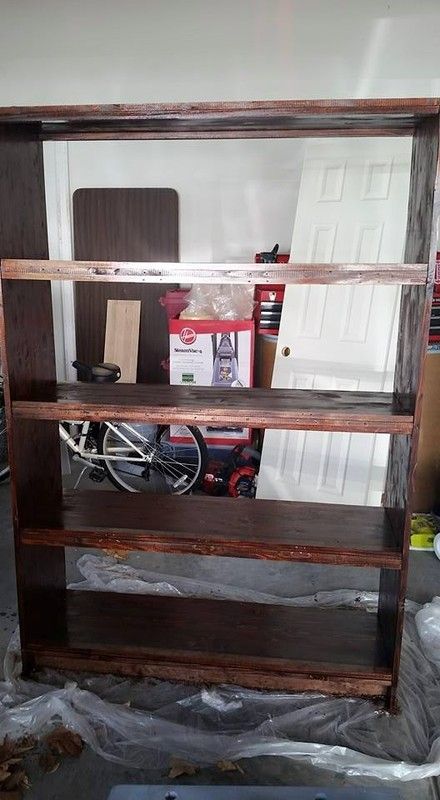
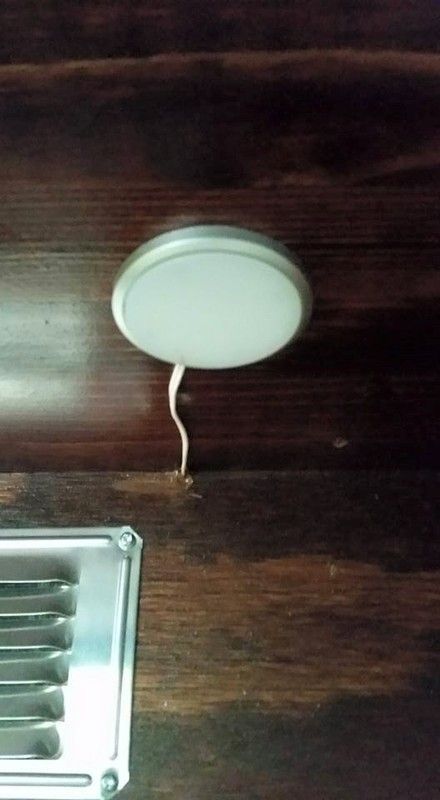
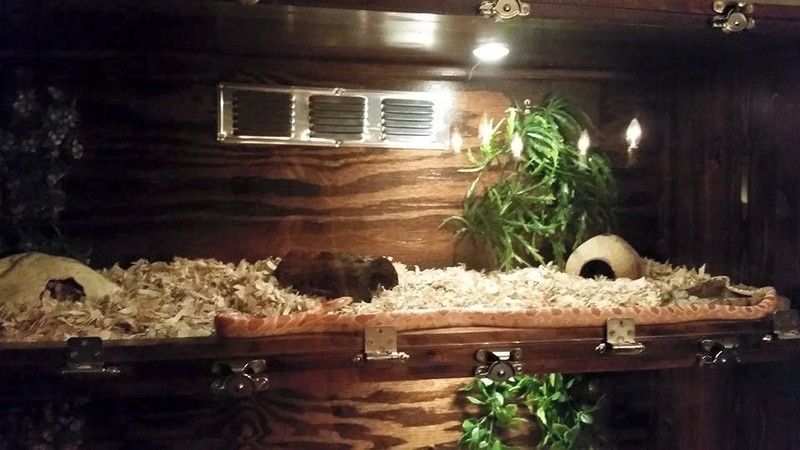
The back went on at the end, once everything was stained and polyurethaned, and the heat pads were installed, so it was easier to drill out the hole for the heating cords to poke through the rear. The rear is not one piece, its 2 separate pieces of plywood, cut at the middle, its just easier that way.
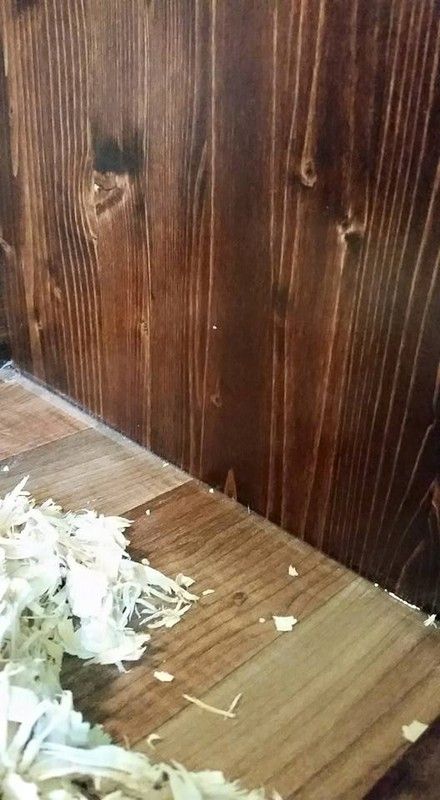
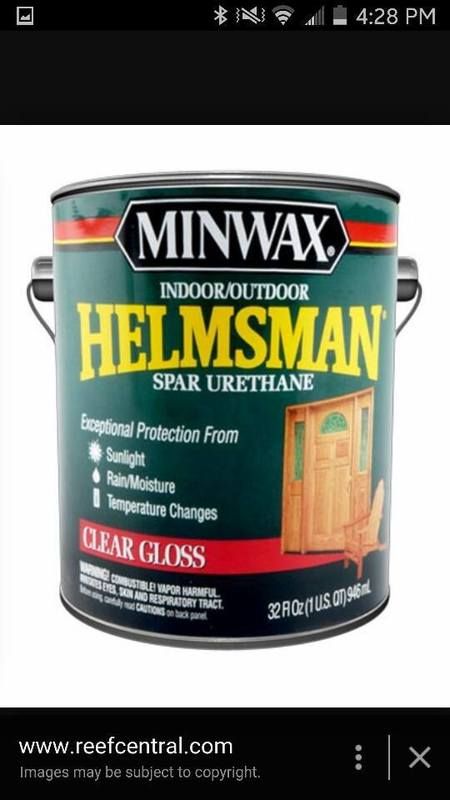
I used Minwax stain, and minwax polyurethane. I did 2 coats of stain and 3 coats of polyurethane, sanding after every polyurethane coat. You want it to be smooth like glass.
We had some left over linoleum, so I ended up using that for the bottom of each section, and then used a small layer of silicone to seal that down.
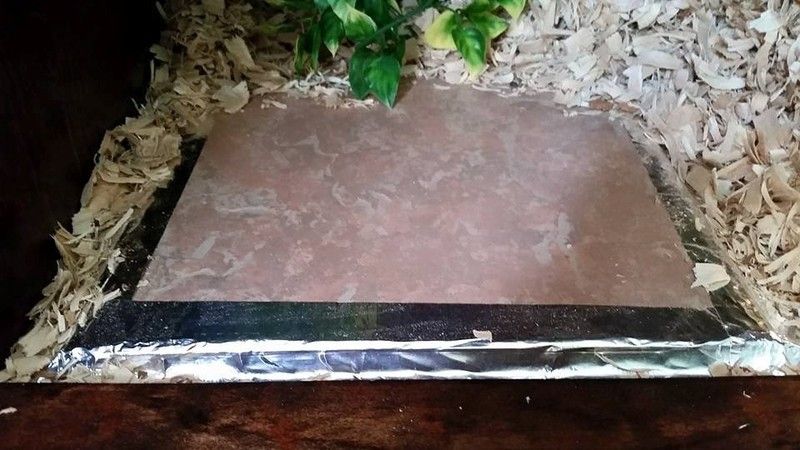
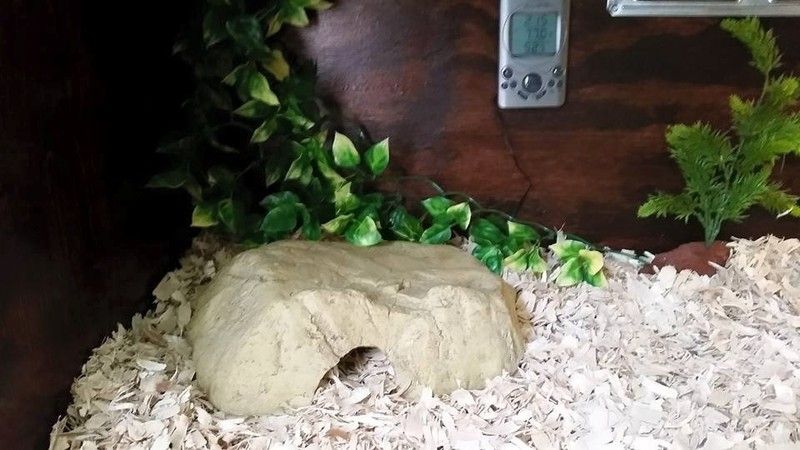
The heat pad is stuck to a tile, then I tape the corners of the tile with heat tape so nothing can get under the tile itself. The heat pad does not sit on the linoleum, it sits on an aluminum foil square, covered in heat tape.
I thought I took pictures of what it looked like with the tiles in place, but I cant find them, so I went back and took a few after the fact so you can see what I mean. I think the tile/heat pad is pretty common anyway.
Heres some pics of the process

Linoleum bottom with silicone seal
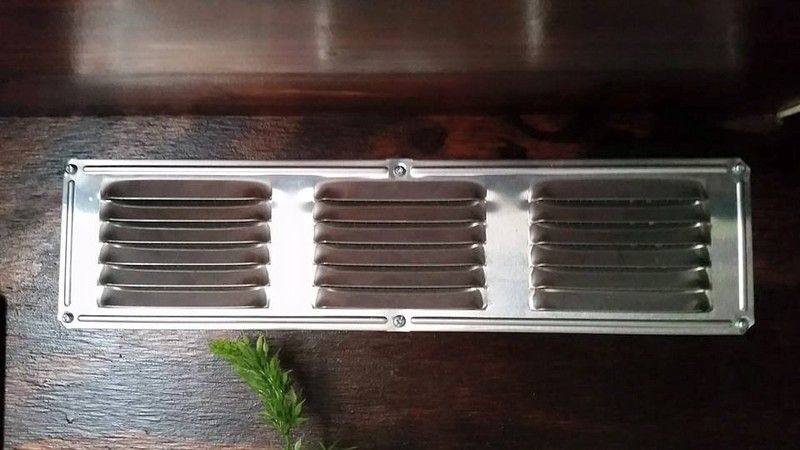
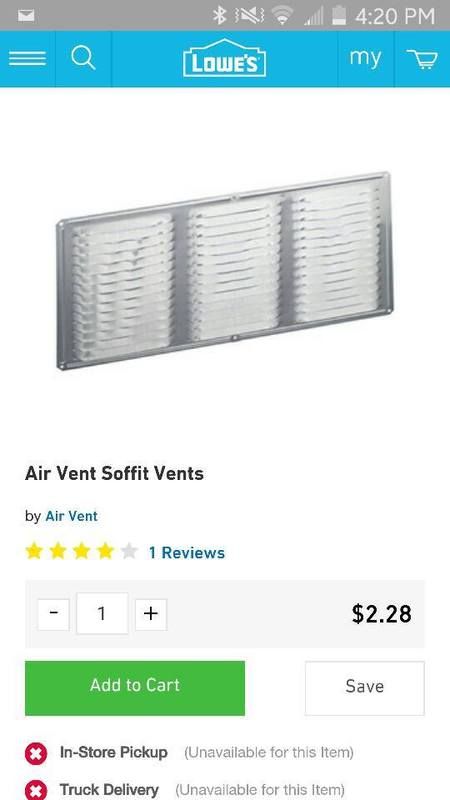
The back piece of plywood has a rectangle cut out for the vent to go over
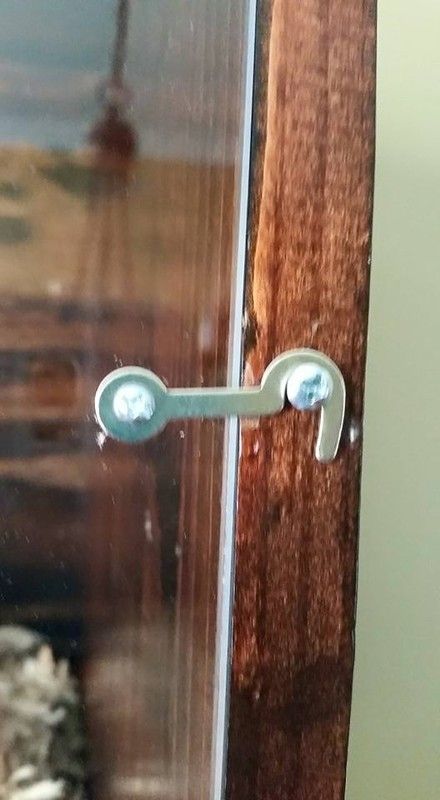
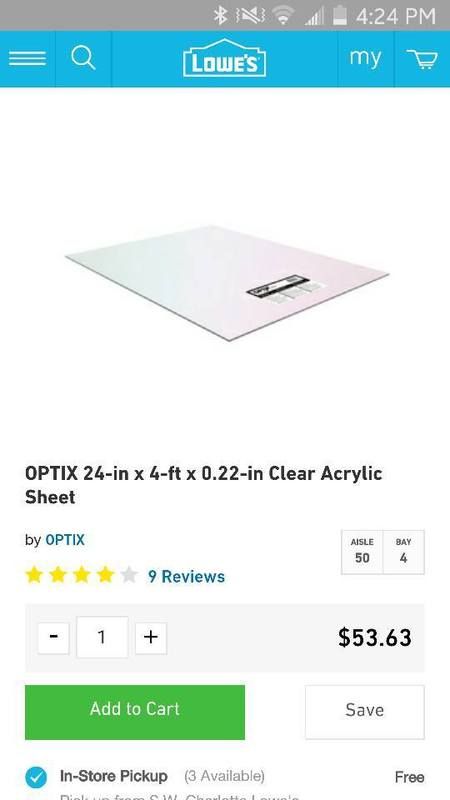
Because the plexi glass is so long, its more vulnerable/bendable the longer you make it, so we had to add more hinges than we anticipated to keep it from being pushed for an escape. We used 5 for each compartment.

My boyfriend and I finally completed our new vivarium.
The dimensions are 72 H by 49 long by 18 deep. (The interior dimensions are 48 inches long by 18 deep
We got the wood at Lowes, I believe its birchwood and the part we used for the shelves already comes in 48 by 18 sheets, so we didn't need to cut them. My boyfriend cut the sides, and the backs from bigger pieces though. Whatever kind of wood you choose, choose something that will look nice when stained. Everything is nailed together with a nail gun, except the back, the back is plywood, and is screwed into the frame.
The back went on at the end, once everything was stained and polyurethaned, and the heat pads were installed, so it was easier to drill out the hole for the heating cords to poke through the rear. The rear is not one piece, its 2 separate pieces of plywood, cut at the middle, its just easier that way.
I used Minwax stain, and minwax polyurethane. I did 2 coats of stain and 3 coats of polyurethane, sanding after every polyurethane coat. You want it to be smooth like glass.
We had some left over linoleum, so I ended up using that for the bottom of each section, and then used a small layer of silicone to seal that down.
The heat pad is stuck to a tile, then I tape the corners of the tile with heat tape so nothing can get under the tile itself. The heat pad does not sit on the linoleum, it sits on an aluminum foil square, covered in heat tape.
I thought I took pictures of what it looked like with the tiles in place, but I cant find them, so I went back and took a few after the fact so you can see what I mean. I think the tile/heat pad is pretty common anyway.
Heres some pics of the process
Linoleum bottom with silicone seal
The back piece of plywood has a rectangle cut out for the vent to go over
Because the plexi glass is so long, its more vulnerable/bendable the longer you make it, so we had to add more hinges than we anticipated to keep it from being pushed for an escape. We used 5 for each compartment.

")