I changed my mind and decided to post pictures of the first step of the built-in burrow. These crappy pictures are from my cell phone as I didn't want to get my nice camera covered in clay!
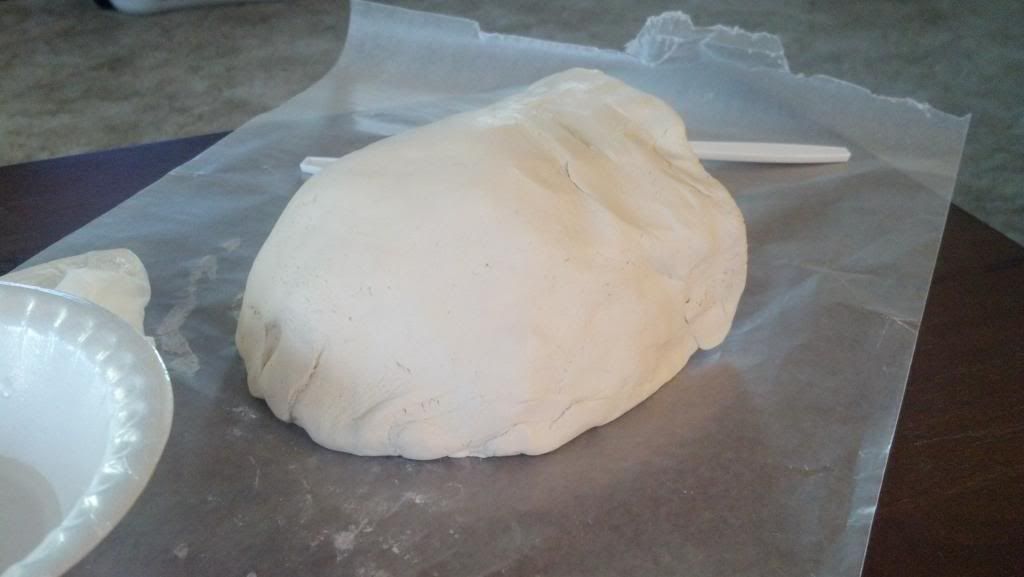
First, I patted out a disc of clay and formed it over a ball of aluminum foil.
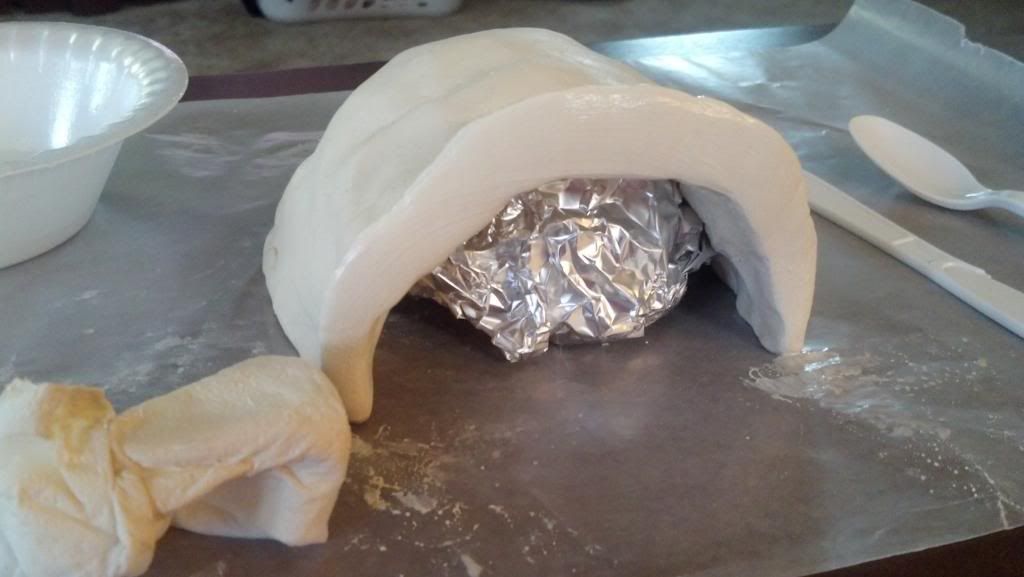
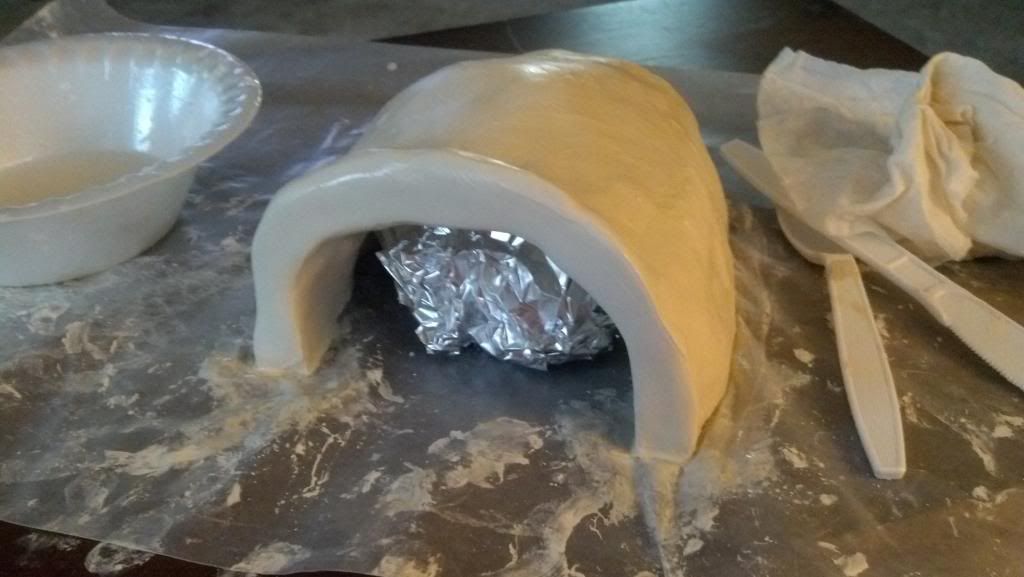
Then, I sawed the back of the burrow out with a plastic knife.

I smoothed and shaped the back of the burrow so that it hopefully lays flat and secure against the side of the glass to serve as a viewing area.
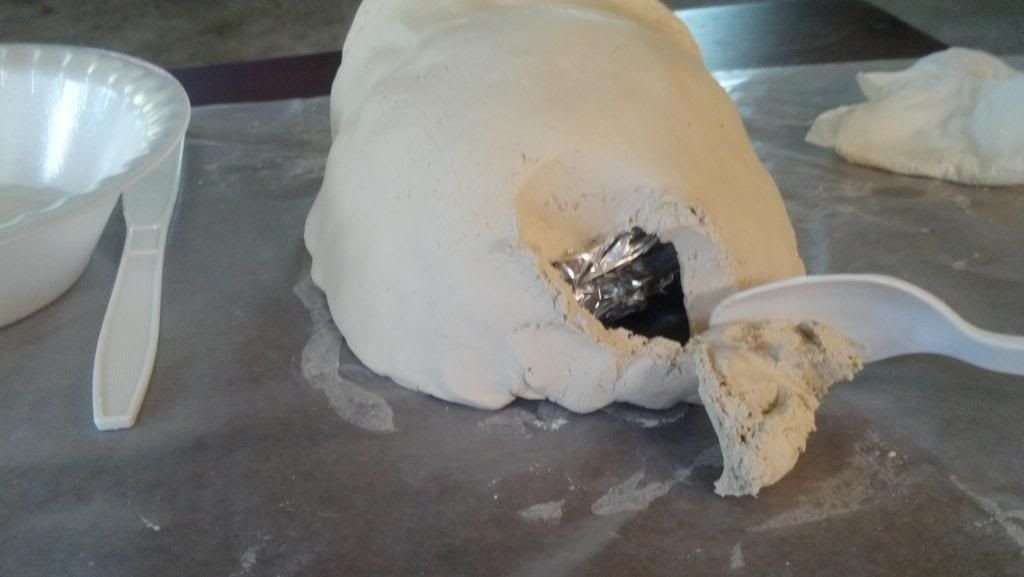
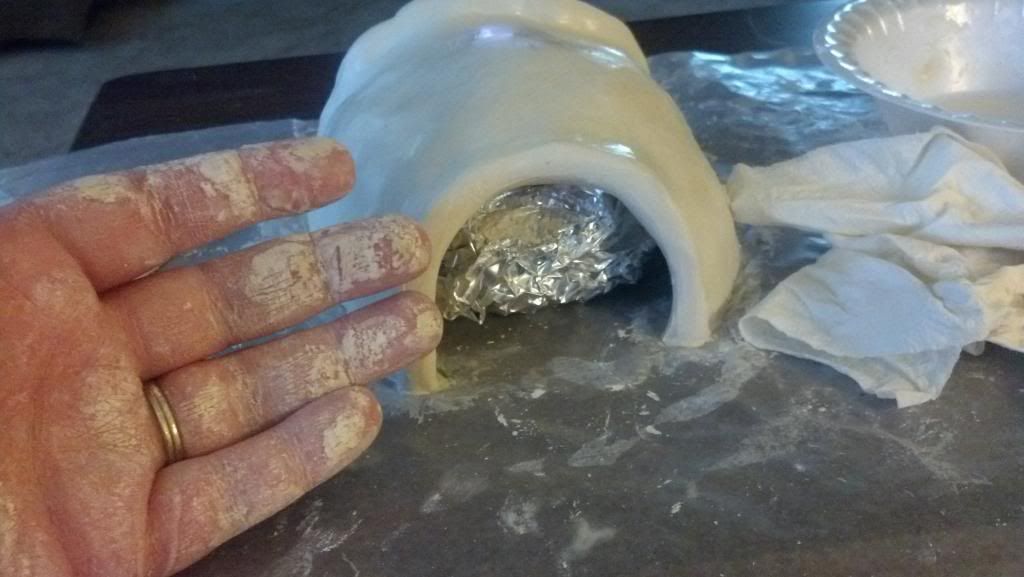
I flipped it around and began to scoop out the entrance of the burrow. After I got it to my liking, I smoothed it out like I did with the back.
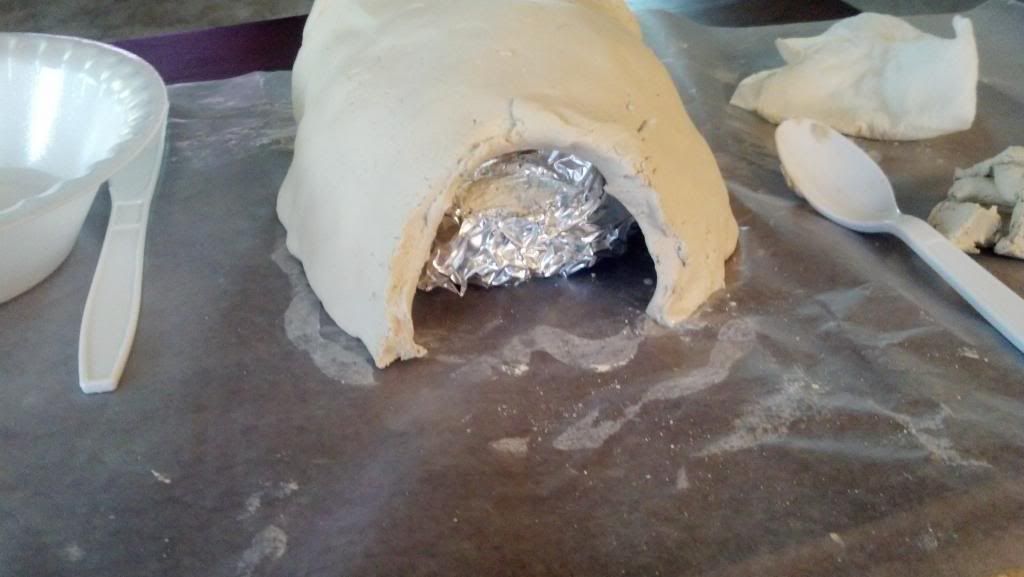
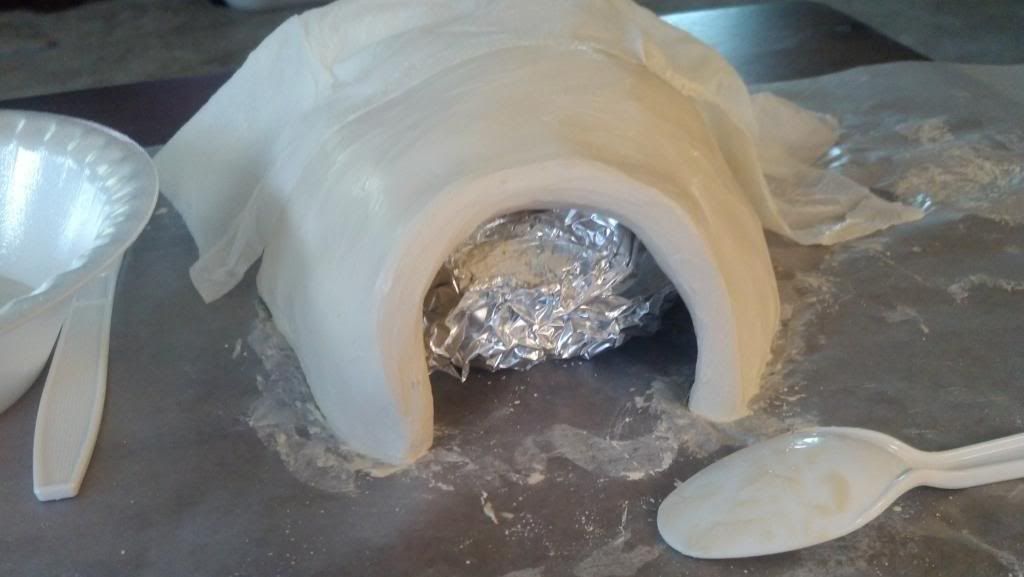
Finally, I smoothed the entire structure out. I didn't feel capable of sculpting the clay to look like rock-work and if I want it to blend in with the background, I'll just apply foam and grout over it before it's installed.
Now, I wait for it to cure! Then, I'll take sandpaper to the whole thing and make sure there is nothing sharp inside that she might hurt herself on. I have some sealant that I will use to make it as resistant to water as I can so that it can be cleaned regularly and won't absorb any moisture that might cause damage to the structure.
After the background is built, I'll work on finishing the burrow to make it look like an extension. If that doesn't work out how I like, I'll seal some EE onto the outer surface and seal that so that bedding can just be scattered on the top of the burrow and blend in. We'll see!


 Linear Mode

