tricksterpup
I has nuttin to Say.
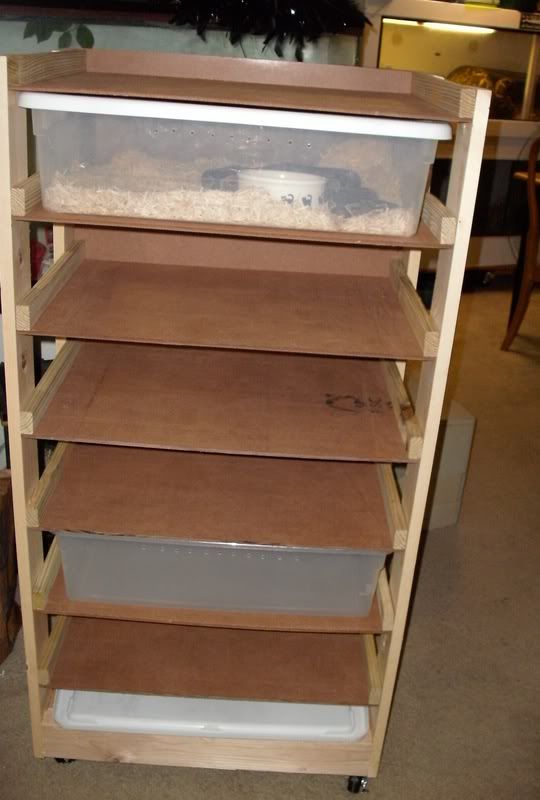
Well folks, I went ahead an finally built myself another Rack. I used blueapplepaste aka Matt's base design and tweaked it just a tiny bit.
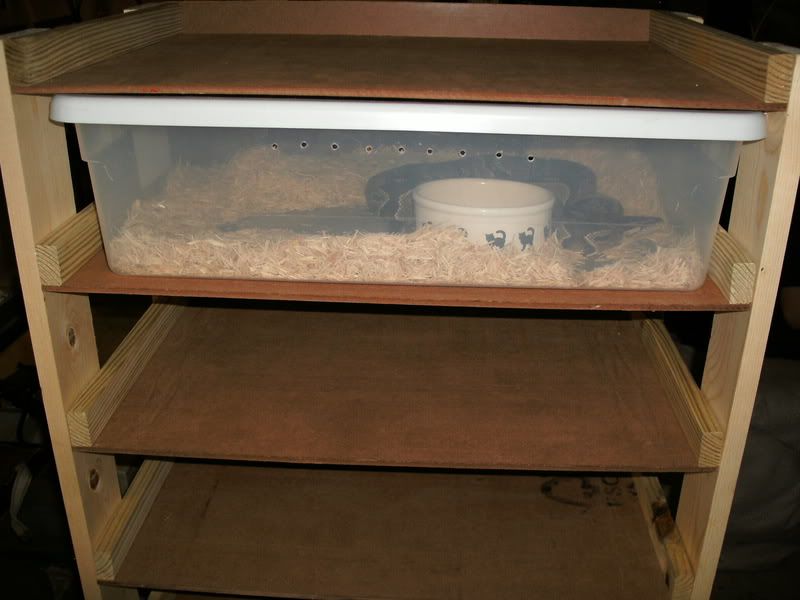
This rack has no heat, i plan on using this as my brumation rack down in the basement but for now its in my heated herp room. I took some photos of it before dragging it upstairs.
Its the base 6 tub unit, with an little space for storing lids. I went a bit loose on the first shelf and a bit tight on the others. Its my first one and I think I did a pretty good job. Matt has this on his website and I swapped out tub sizes for ones that I have and I did not use plastic as he recommends but I used tempered backing board. This stuff is really sturdy. The wood, backing board and timber, which I have plenty left over for a second rack cost me about $75. So I would say $60 over all for the lumber and wheels.
the backing board was about $4.95 a sheet, and I used 3 sheets, the sheets were perfectly cut into to 3 pieces for the Steralite 1756. I was able to get 6 perfect sheets from this, I had to use one more from another board but that was fine. I did not have to cut the backing board since it fit perfectly.
So please enjoy the pictures.
Front
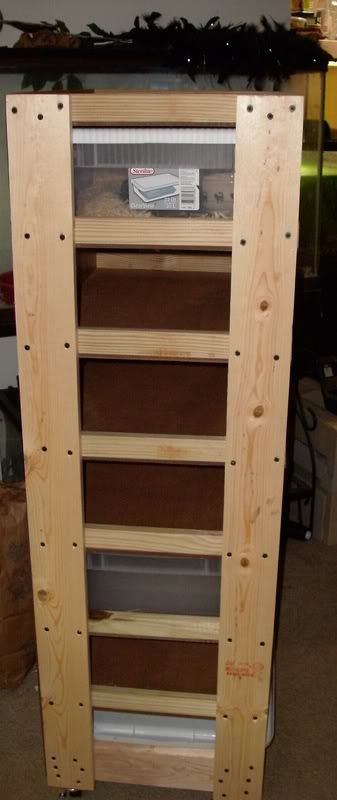
Side
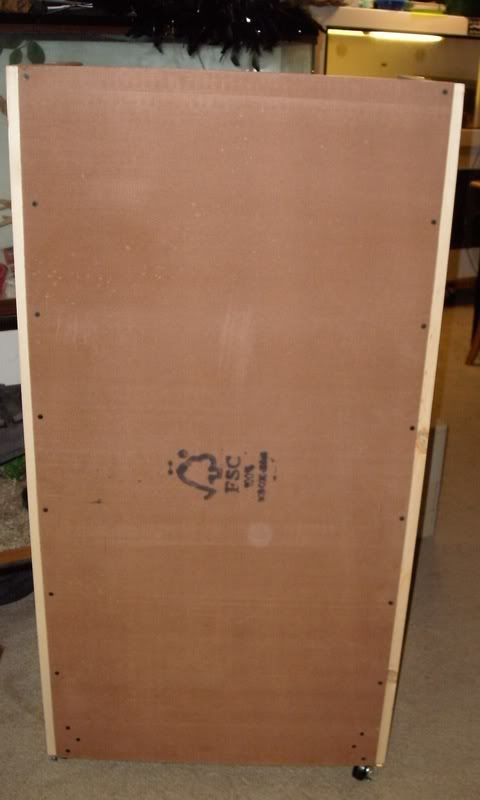
Back
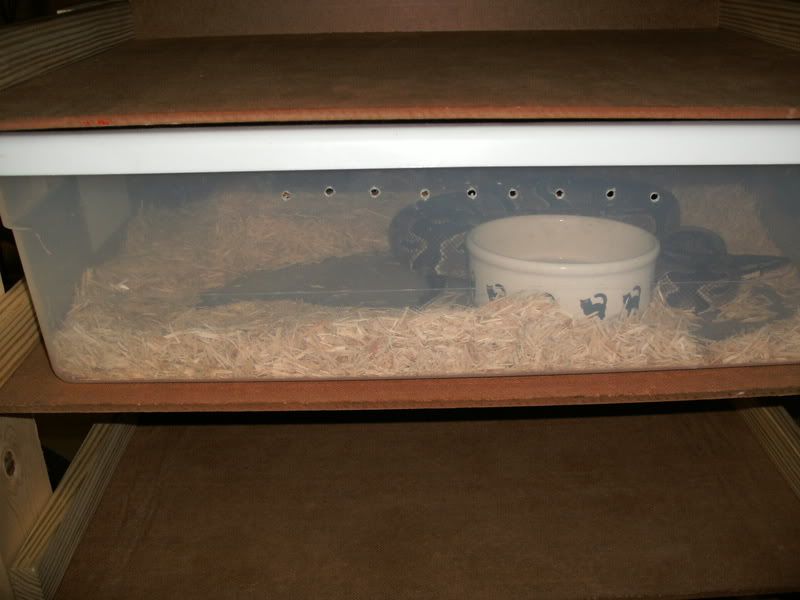
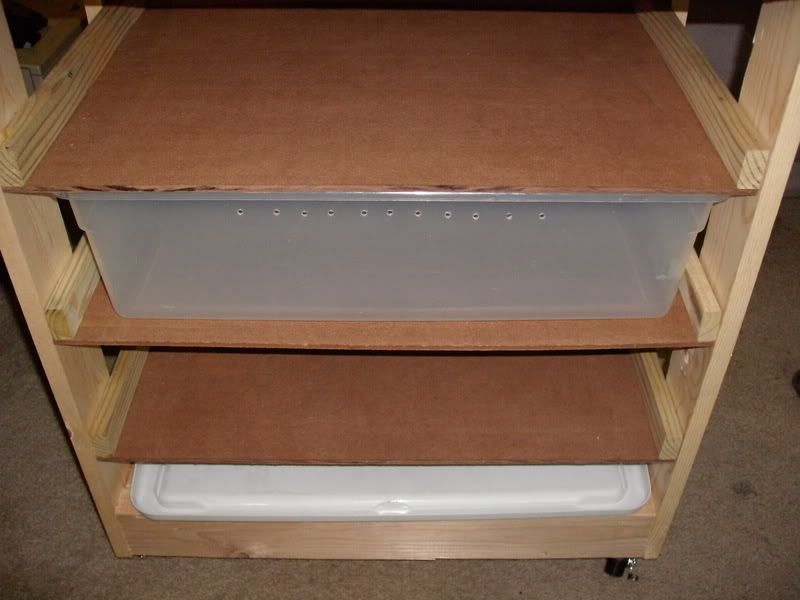
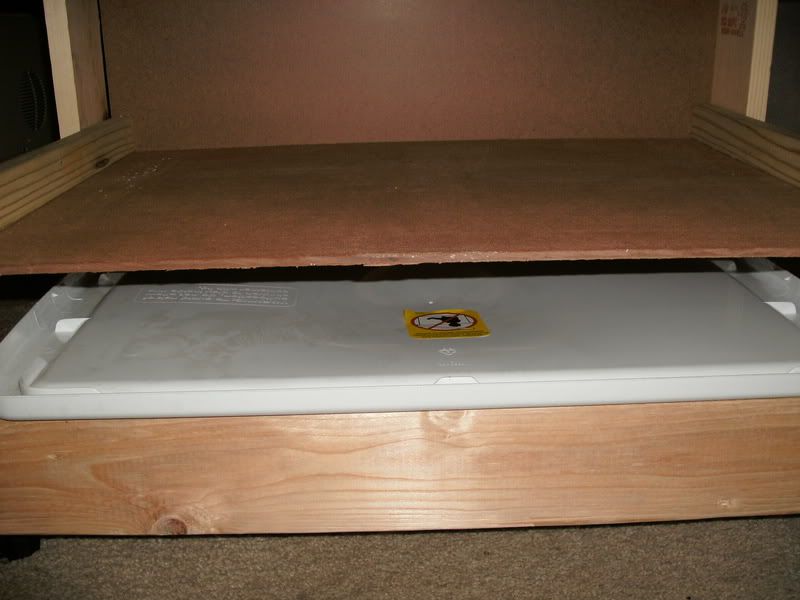
Shelves
This one was a bit loose but dang it fits perfect with a lid.

This rack has no heat, i plan on using this as my brumation rack down in the basement but for now its in my heated herp room. I took some photos of it before dragging it upstairs.
Its the base 6 tub unit, with an little space for storing lids. I went a bit loose on the first shelf and a bit tight on the others. Its my first one and I think I did a pretty good job. Matt has this on his website and I swapped out tub sizes for ones that I have and I did not use plastic as he recommends but I used tempered backing board. This stuff is really sturdy. The wood, backing board and timber, which I have plenty left over for a second rack cost me about $75. So I would say $60 over all for the lumber and wheels.
the backing board was about $4.95 a sheet, and I used 3 sheets, the sheets were perfectly cut into to 3 pieces for the Steralite 1756. I was able to get 6 perfect sheets from this, I had to use one more from another board but that was fine. I did not have to cut the backing board since it fit perfectly.
So please enjoy the pictures.
Front
Side
Back
Shelves
This one was a bit loose but dang it fits perfect with a lid.
")