cagedbirdsinging
Maya's Mama
Hey, guys!
I wanted to start a thread to put my DIY endeavors into a journal of sorts rather than making threads for each individual project seeing as how I have at least a dozen plans.
I'll start out with descriptions for now as hopefully construction will begin tomorrow, along with pictures.
First off, this will not be a vivarium build itself, even though that will likely occur in a few years. For now, I will be working with an existing aquarium and essentially DIY-ing everything that I can for it rather than going out and buying what I need when I can make it and customize it for myself.
(For those not following my posts, I do not have my snake yet and will not be getting one for several weeks, most likely. I am waiting to make sure that I am 100% prepared and that I find the perfect snake for me rather than running out to a pet store and grabbing the first one I find!)
Project List:
Supply List:
Let the games begin!
I wanted to start a thread to put my DIY endeavors into a journal of sorts rather than making threads for each individual project seeing as how I have at least a dozen plans.
I'll start out with descriptions for now as hopefully construction will begin tomorrow, along with pictures.
First off, this will not be a vivarium build itself, even though that will likely occur in a few years. For now, I will be working with an existing aquarium and essentially DIY-ing everything that I can for it rather than going out and buying what I need when I can make it and customize it for myself.
(For those not following my posts, I do not have my snake yet and will not be getting one for several weeks, most likely. I am waiting to make sure that I am 100% prepared and that I find the perfect snake for me rather than running out to a pet store and grabbing the first one I find!)
Project List:
- background
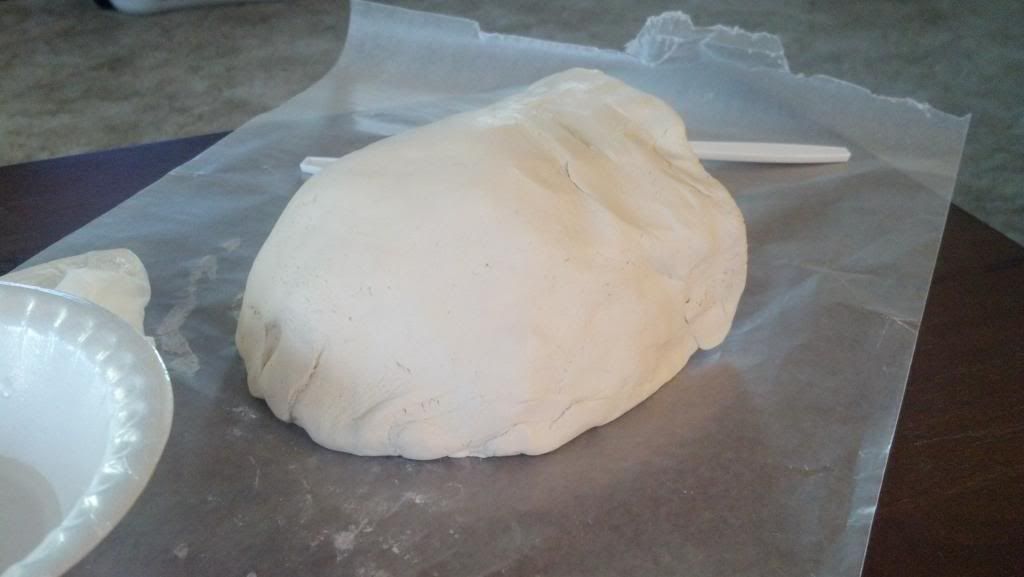
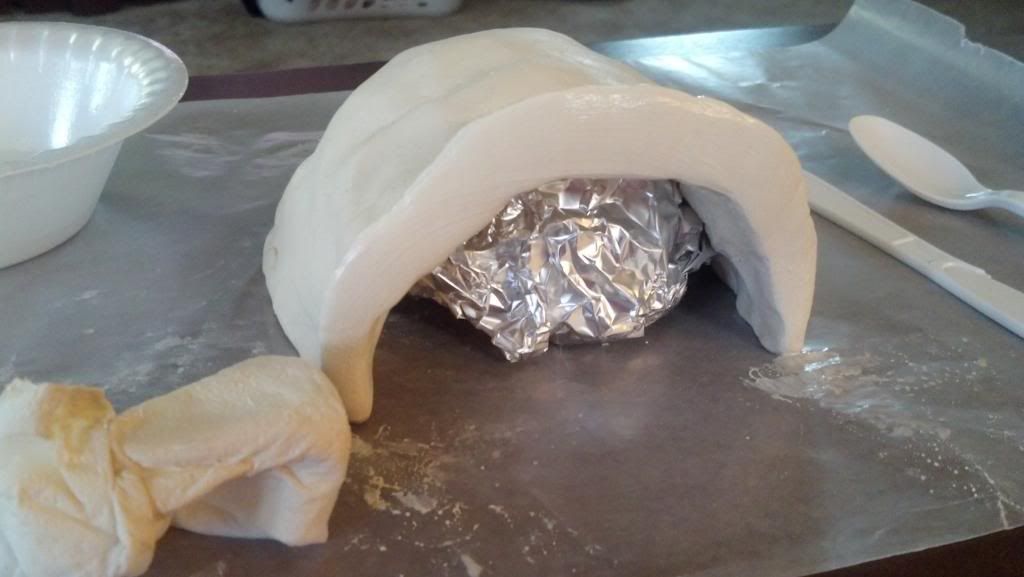
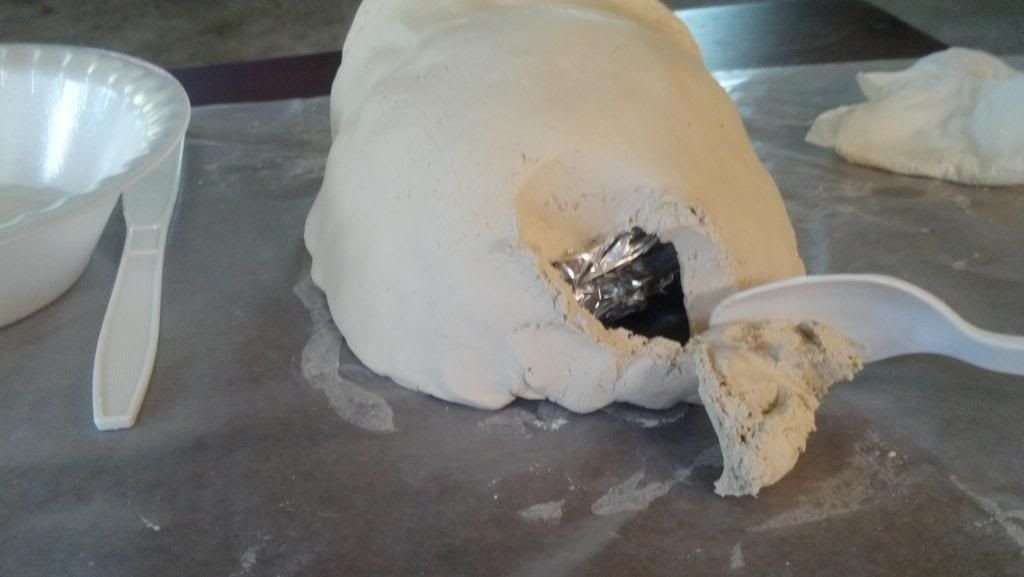
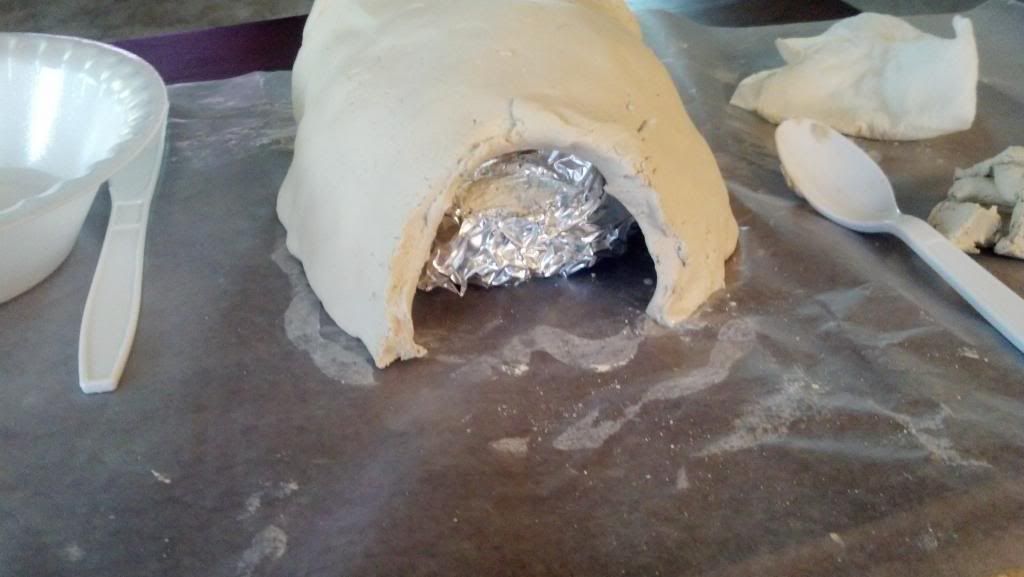
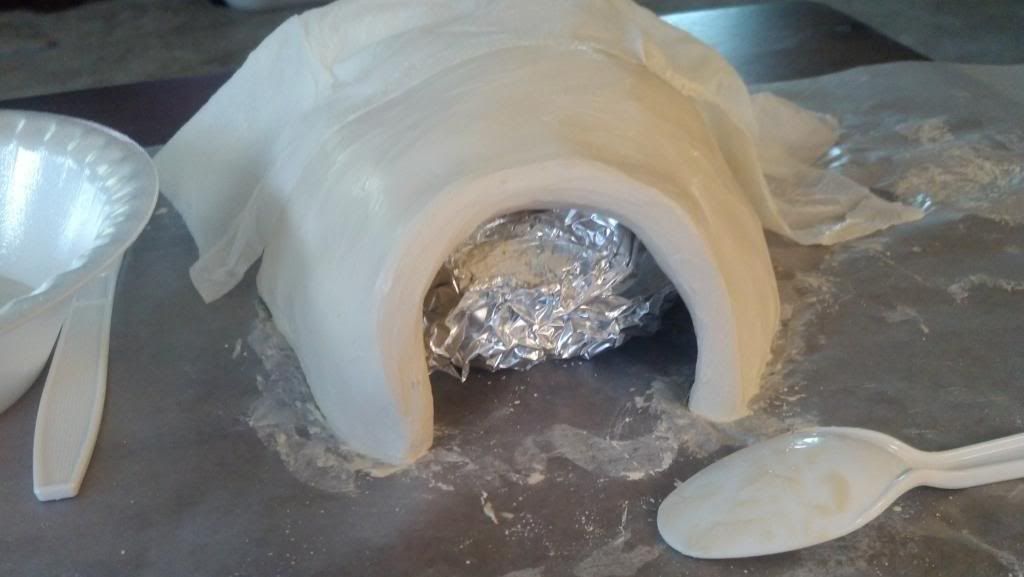
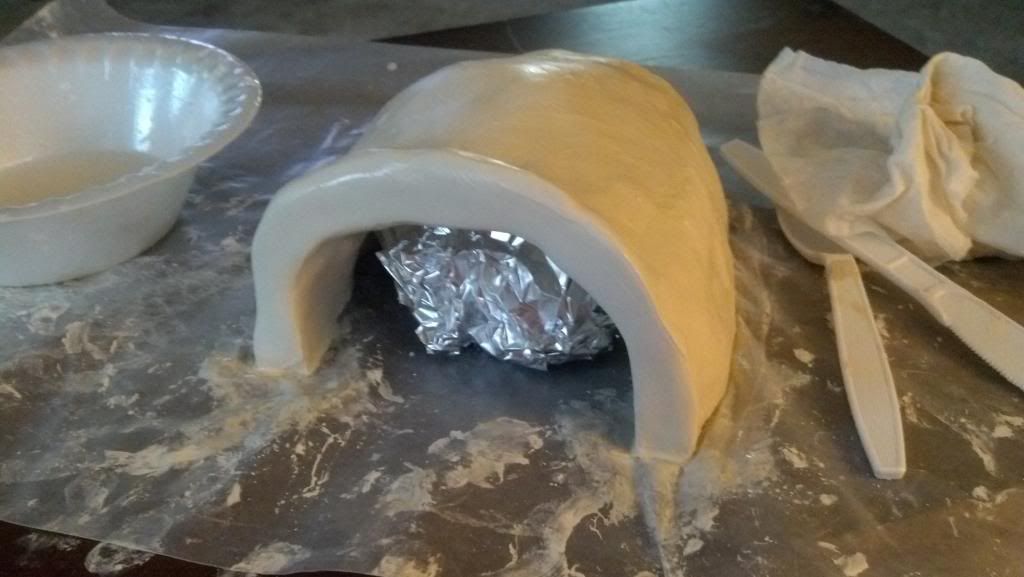
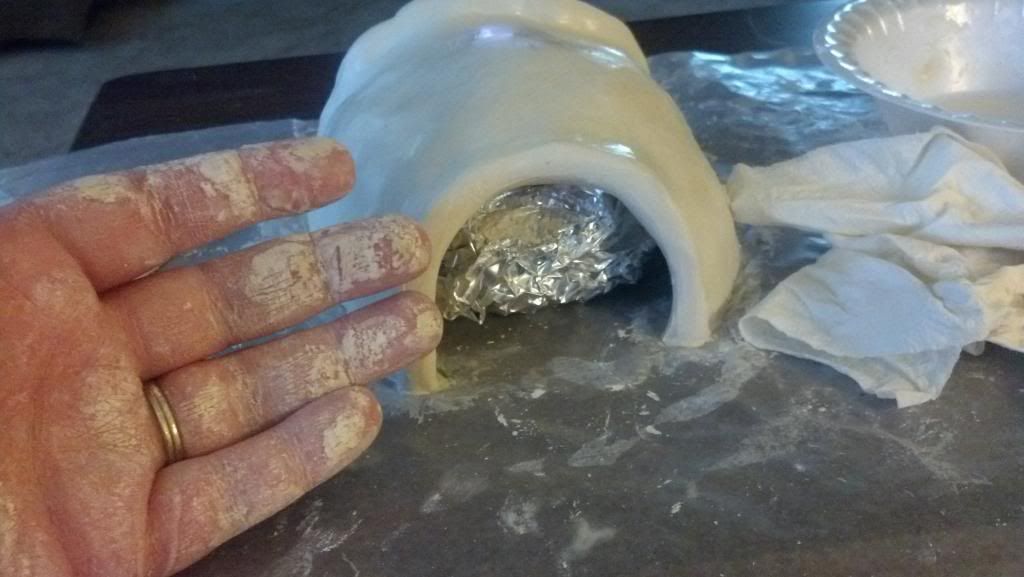
- hides
- dishes/bowls
- driftwood arrangement/embellishment
- floral arrangements
Supply List:
- styrofoam sheets
- unsanded tile grout
- silicone and sealants
- various clays
- acrylic paints
- non-wired artificial greenery
Let the games begin!
")