• Hello!

    Either you have not registered on this site yet, or you are registered but have not logged in. In either case, you will not be able to use the full functionality of this site until you have registered, and then logged in after your registration has been approved.

    Registration is FREE, so please register so you can participate instead of remaining a lurker....

    Please be certain that the location field is correctly filled out when you register. All registrations that appear to be bogus will be rejected. Which means that if your location field does NOT match the actual location of your registration IP address, then your registration will be rejected.

    Sorry about the strictness of this requirement, but it is necessary to block spammers and scammers at the door as much as possible.

Big adult & hatchling rack

HazAnga

Corn's + Garters
Ok this may not be big for most of you but it's big for me. I don't have pictures yet, but I'll try and show you the plans tomorrow when I'll try and up load some pix.
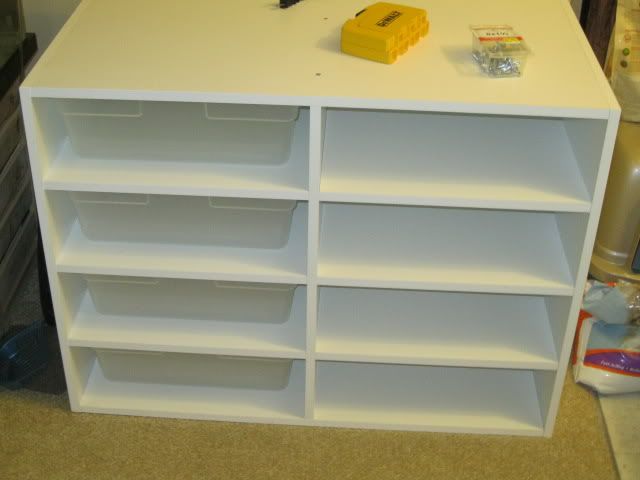
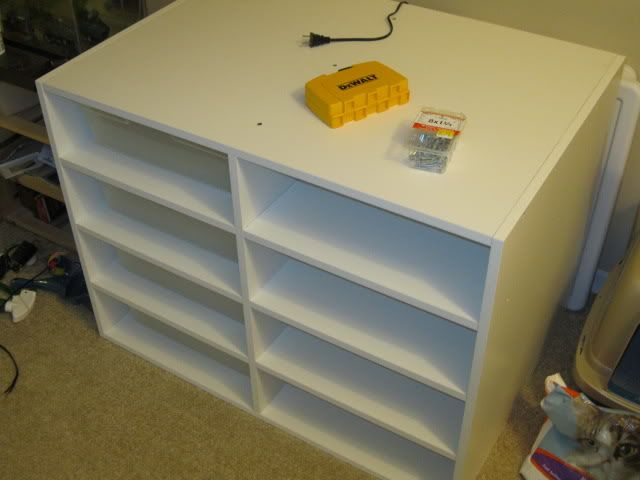
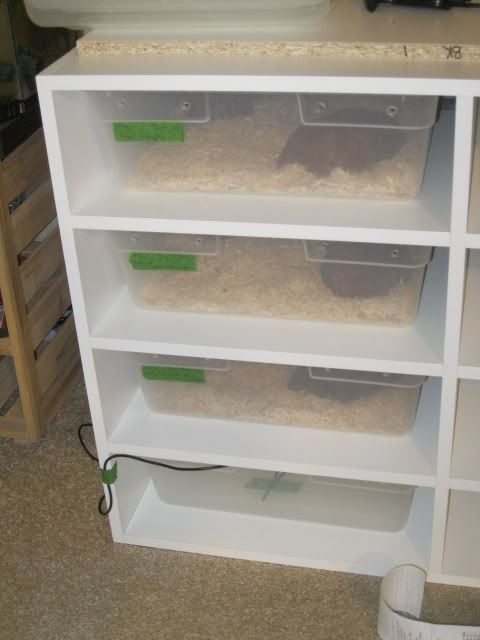
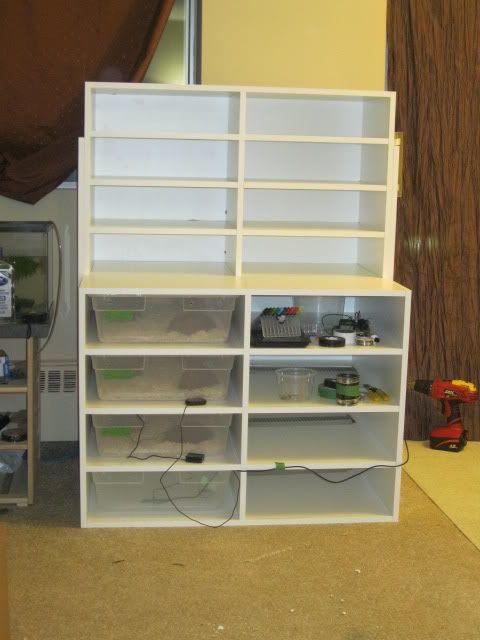
It is just under 3 feet wide, it's almost 4 feet tall and it's 2 feet deep. It's going to be big enough to hold 8 Adult Bins and 16 hatchling bins. The Hatchling bins are going to be 4 wide by 4 tall, 2 bins being able to fit into one space.
I've got the plans done up and printed and I'm bringing them to work (I'm a cabinetmaker) and I'm going to ask my boss how much it's going to cost for materials and if I can git it put into production, Cut, Machined (on the CNC machine) then edge banded to cover the exposed edges. Then I plan on bringing the pieces home myself and putting it together at home (as it would be too big to put it in my car :D).

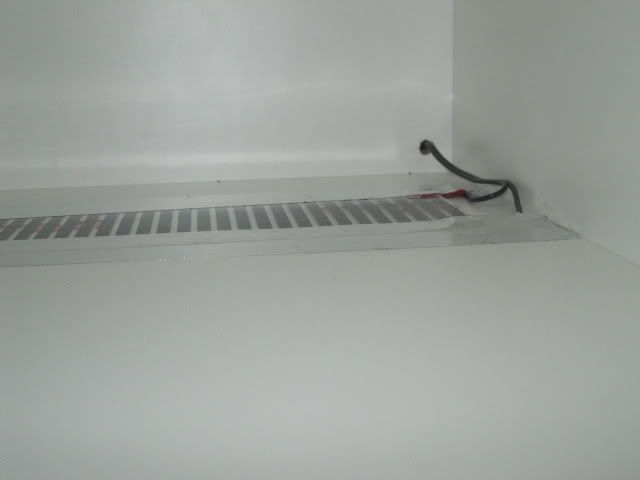
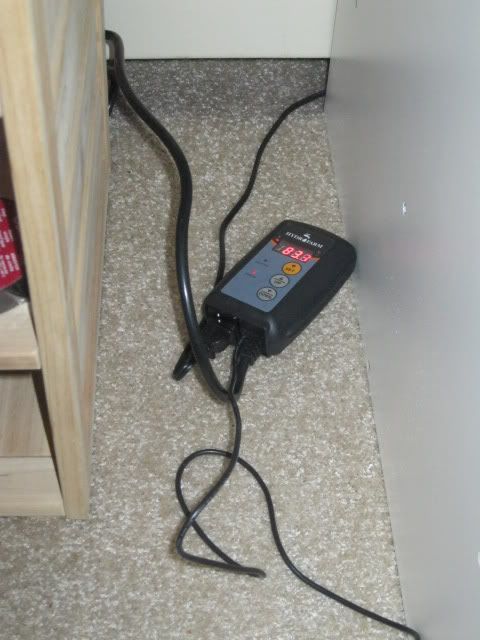
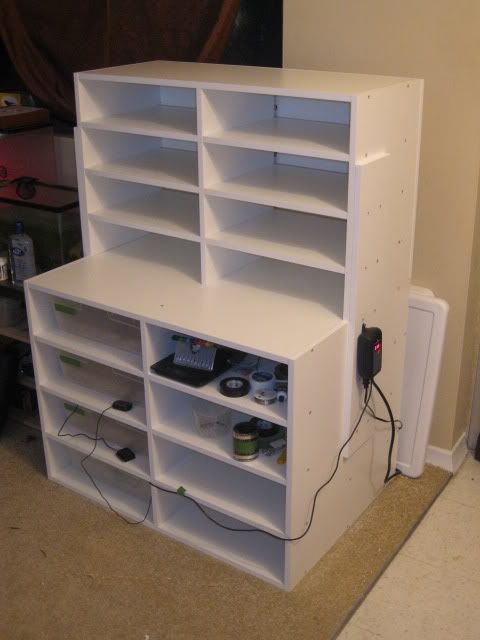
It will probably take a while before I git it all brought home depending on how much it will be. But once i git it home it will be a matter of glue (git small air compressor from my dad) pin nail it together to keep it together while i screw it together to keep it square. Add the heat tape and wire it and it's complete :)
 
ok Finally I got it cut, machined and edged at work and got the parts home. Unfortunately there was some confusion about the top unit where the hatching bins will be held so i need to add some 5/8" strips on the shelves and cut a bigger back. I got the bottom unit assembled and heat tape and wired on one side. I'm going to have to order some more heat tape because I only have enough for 3 bins and I have 4 bins left to do. I'll probably have to order some more 3" tape for the hatchling racks too because I don't think I have enough.
Well here's some pix.
here's the bottom unit mostly together.
IMG_0102.jpg

IMG_0103.jpg

This picture has the 4" heat tape taped down with foil tape.
IMG_0104.jpg

Here's my Thermostat
IMG_0108.jpg

And this is pretty much completed (one the one side) with 3 of 4 housed bins
(Top to bottom; Snickers, Mick, and Isis)
IMG_0105.jpg
 
I should have the top unit together and maybe wired up (but not plugged in and used until next year)
I can't wait to have it completely finished and for the most part completely wired. I'm thinking of coming up with some sort of switch panel so I can turn off certain bins. Probably group them in 2. Definitely grouping the hatchling bins, they are already grouped in 2's but I would group 4 bins per switch. Any idea's on that guys? Ladys?
 
ok here's the rest of it, it's almost done, I'm just going to have to cut a couple 4" wide strips that are the length of the whole unit so i can screw them together and make it one unit so the top unit doesn't fall off. I also have to sadder wires to the heat tape then tape the heat tape down. After that I should pretty much be done and just have to get the rest of the bins to fill the empty spots.
 
So I've got the unit completely together, holes drilled for wiring at the back. I got the braces I did at work on both sides so It's as sturdy as it would be if it was built as one unit. All that's left now is wiring the 3" flexwatt and taping them down, but that will probably have to wait till Saturday when I'm able to hit up the hardware store and get some aluminum duct tape. I might pick up some more bins at some point within the next week or two so then it looks more full then what it is lol.
Here's a couple more pix. :)
IMG_0137.jpg

IMG_0138.jpg

I'm still on the idea of putting the hatchling shelves on switches for each level. Just have to think of how exactly I'm going to do it...
 
Excellent! How's the Hydrofarm working out? I still need to buy one, if for nothing else to have an inexpensive one on hand "just in case".
 
Thank you all, The hydrofarm is ok, I with the temp range wasn't as big as it is... but that's what you git for $25, instead of the $300 spyder robotics one's
 
That's really nice, Nick! I'm curious...since I can't actually see the right angle in the pix, do the bins fit snugly w/o a lid or are they lidded?
 
That's really nice, Nick! I'm curious...since I can't actually see the right angle in the pix, do the bins fit snugly w/o a lid or are they lidded?

They fit fairly snug without lids, there's maybe a 1/16" - 3/32" gap, still not enough for a hatchling to squeeze through.

The Hydrofarm thermostats do work well compaired to price, but I do see upgrading should and will eventually be something of the future.
 
Thank you, it took my boss a while to finally give the my sketch/print to our panel saw operator, then it took another week or two to to git machined on the CNC machine then to the edge bander (both which were done in a day) then I took it home and filed and cleaned then pieces and put it together. wasn't all that hard for me to do, just took some extra time. I wouldn't of been able to fit it in my car if it was assembled there so i just did it myself at home :)
 
looks familiar...

here is my baby and juvie racks...love yours too, you did a very nice job....mine is like ten years old,so its not all pretty and white like yours still is....
 
Back
Top