• Hello!

    Either you have not registered on this site yet, or you are registered but have not logged in. In either case, you will not be able to use the full functionality of this site until you have registered, and then logged in after your registration has been approved.

    Registration is FREE, so please register so you can participate instead of remaining a lurker....

    Please be certain that the location field is correctly filled out when you register. All registrations that appear to be bogus will be rejected. Which means that if your location field does NOT match the actual location of your registration IP address, then your registration will be rejected.

    Sorry about the strictness of this requirement, but it is necessary to block spammers and scammers at the door as much as possible.

Naturalistic Vivarium Build (Picture Heavy)

DragonGuide

Dragon Artist
Hello again, as promised in my introduction thread, I am going to show everyone our new snake tank. We have been working on it for the past 3 weeks, and are pleased with our progress. We wanted to go with a naturalist theme for the tank, and I think we pulled it off well.
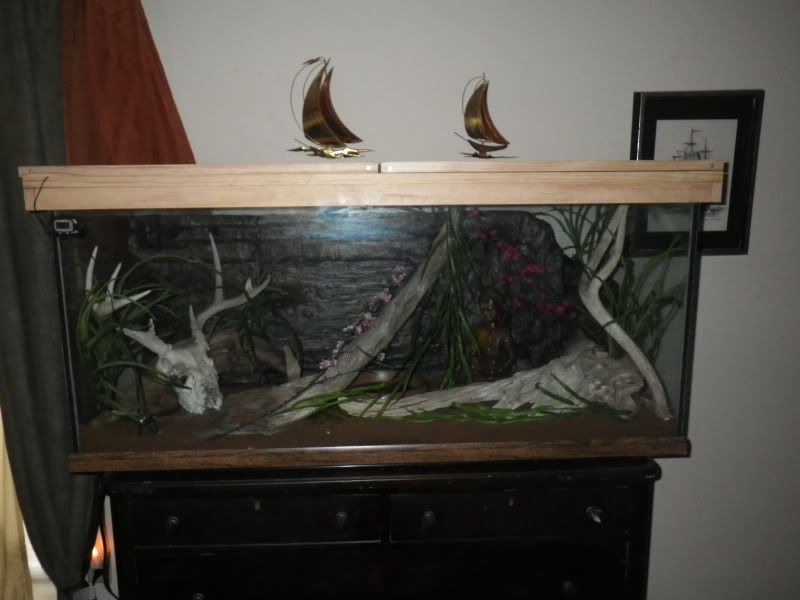
The dimensions for the tank are 48" L x 18" D x 21" H and I believe is a 75g.
We are using Eco-Earth as the substrate, I know aspen is the preferred bedding material, however I happen to be allergic to the dust in the aspen and due to the amount we needed to put in this tank it was not an option.
Now to the pictures!

IMGP2559.jpg


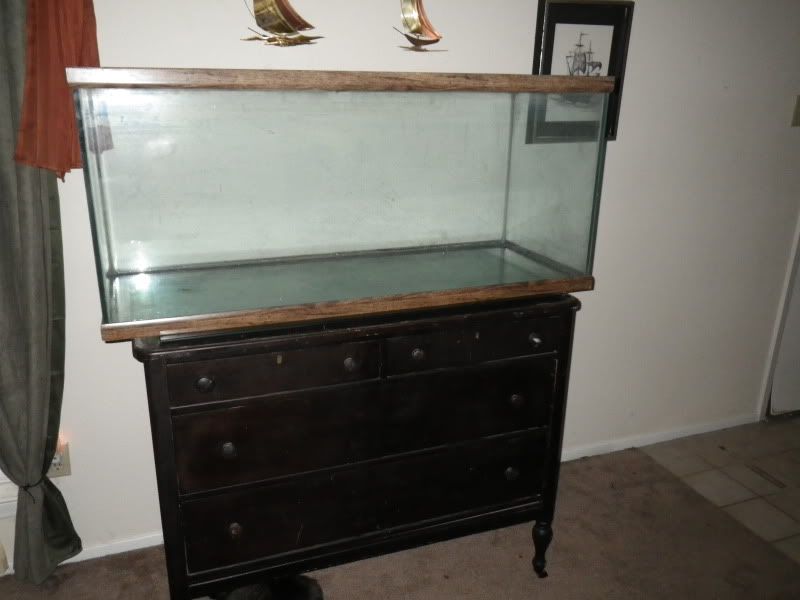
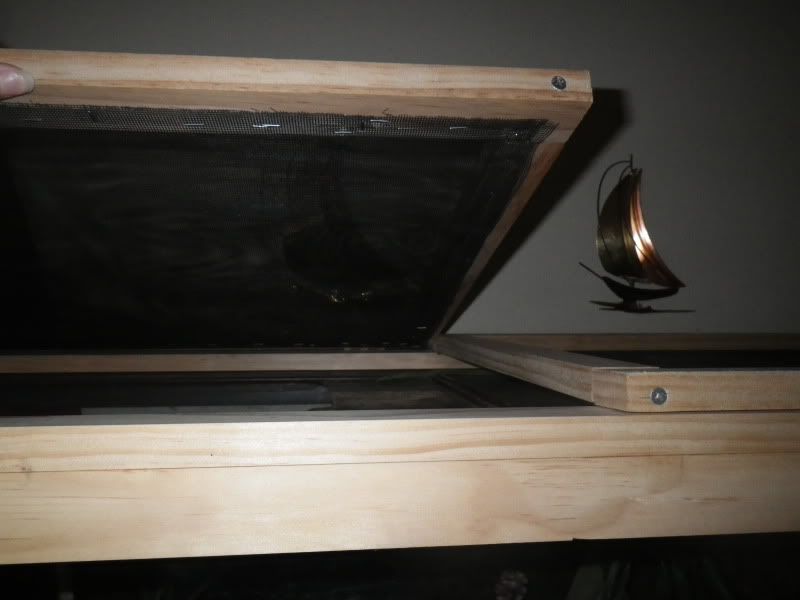
After the initial cleaning and set up.

IMGP2594.jpg


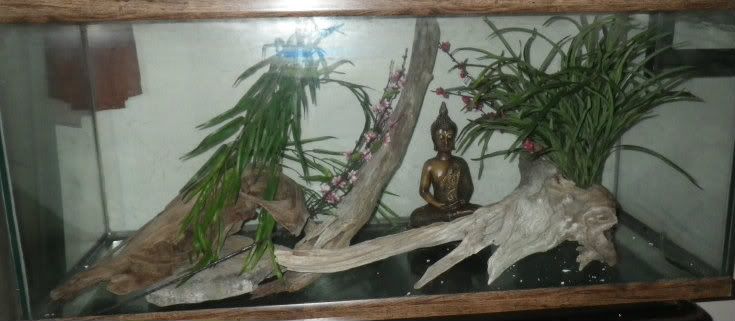
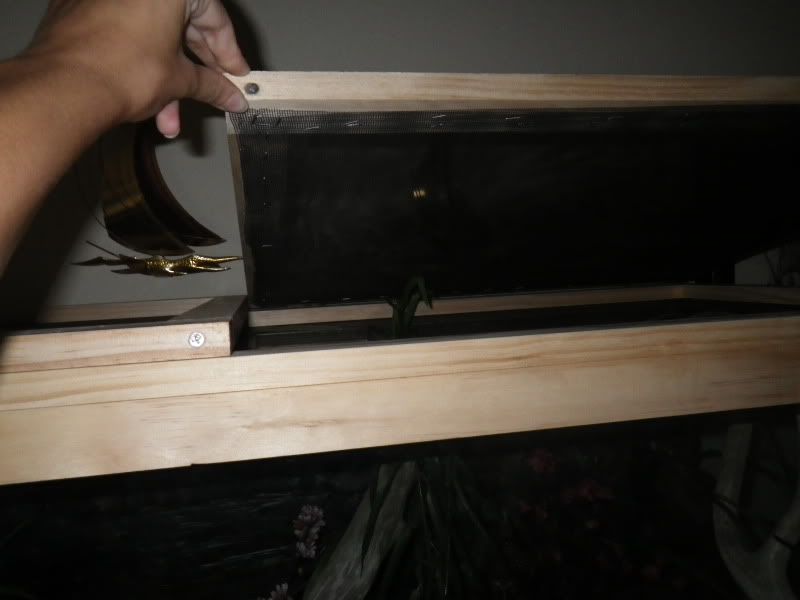
Setting in the main decorations for sizing and getting a general idea for the setup.

IMGP2623.jpg


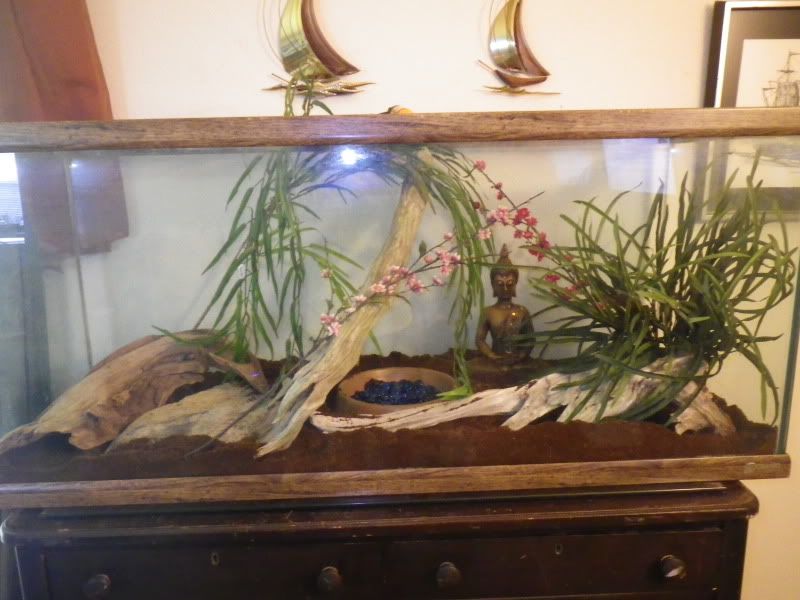
Adding the Eco-earth after re-hydrating two bricks and letting them sit in the sun for 3 days.

IMGP2595.jpg


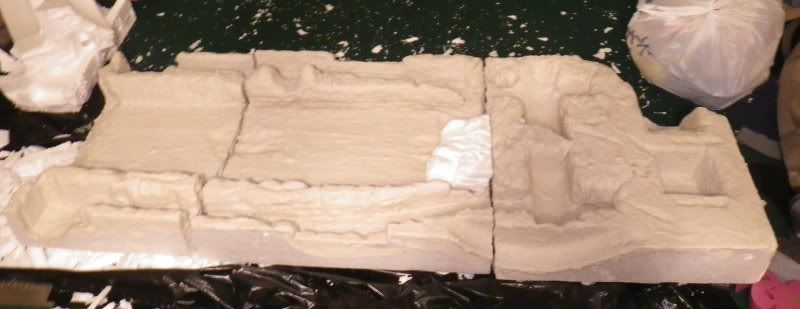
Beginning grouting of the fake rock background.

IMGP2630.jpg


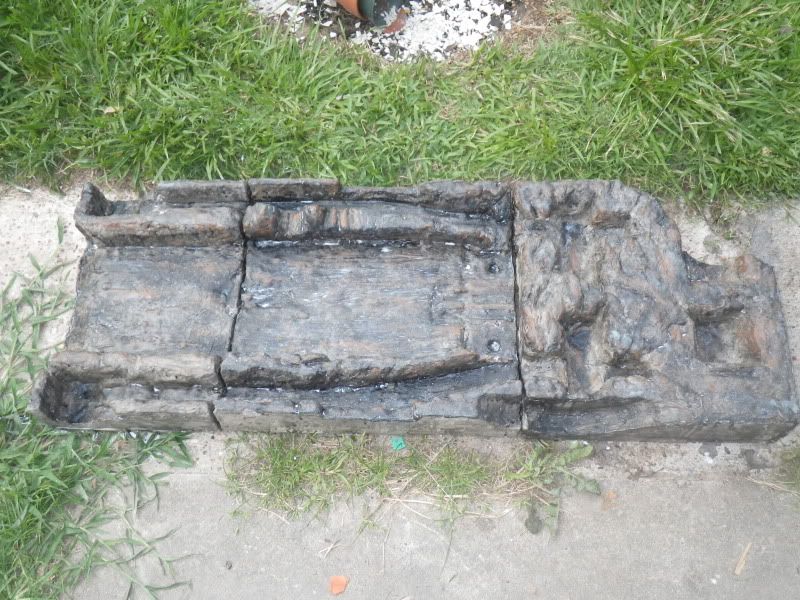
After painting, waiting for the sealant to dry.

IMGP2629.jpg


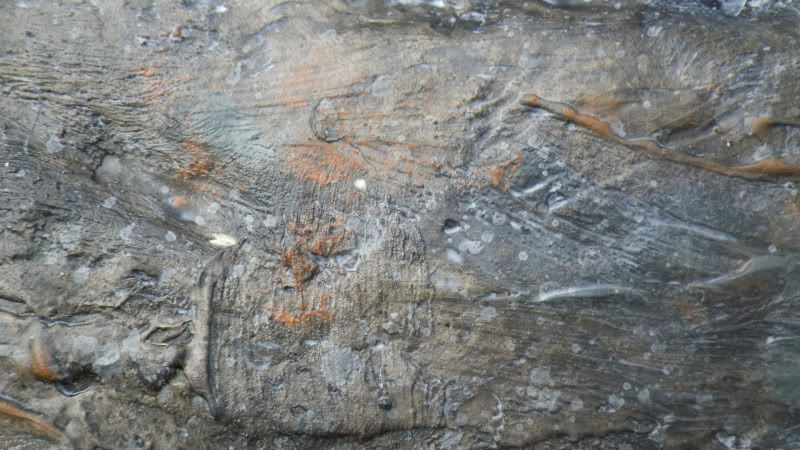
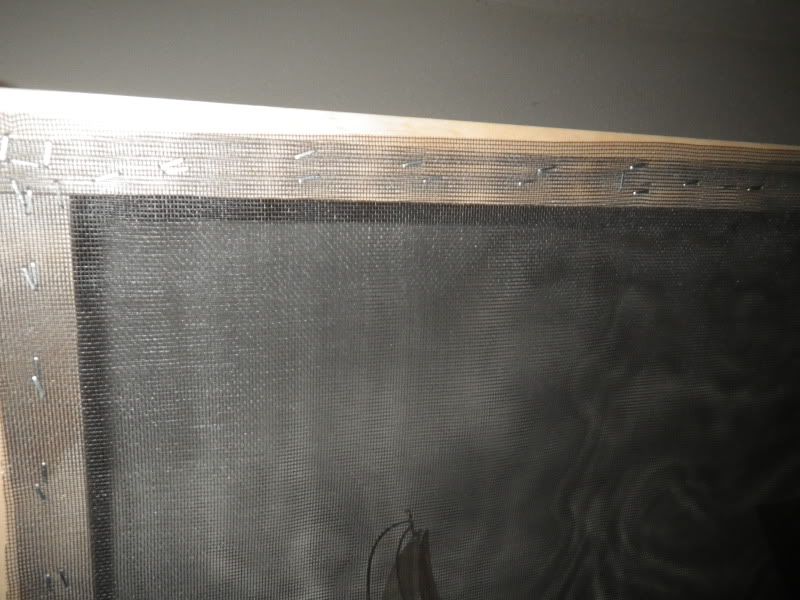
A close up of the paint and texture of the fake rock.

IMGP2632.jpg


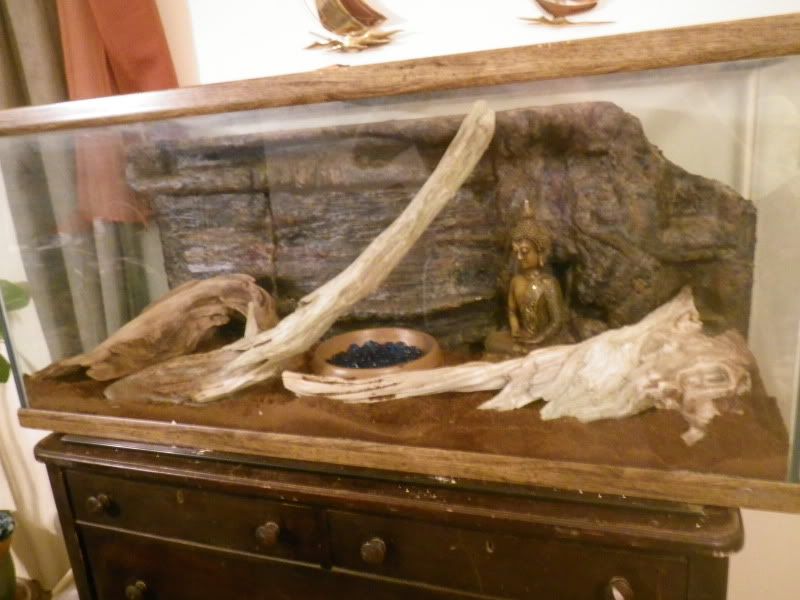
Adding the fake rock wall to the tank.

IMGP2637.jpg


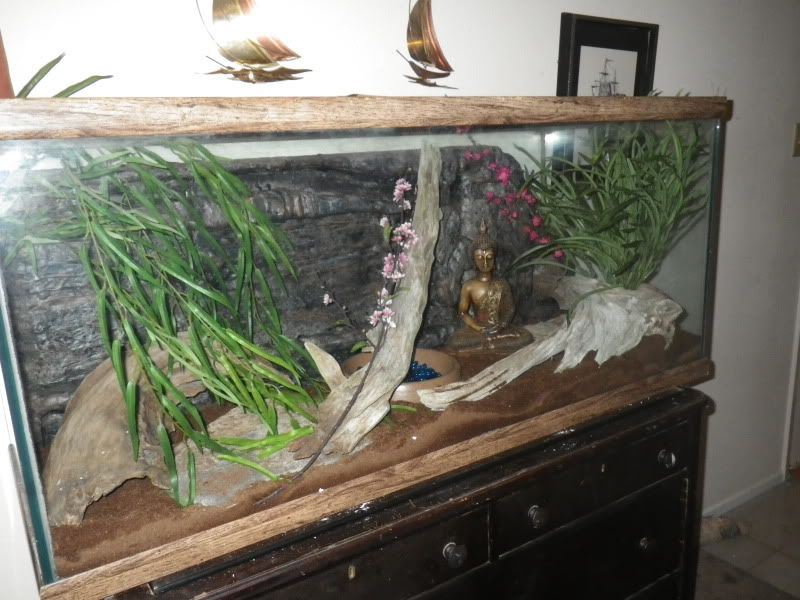
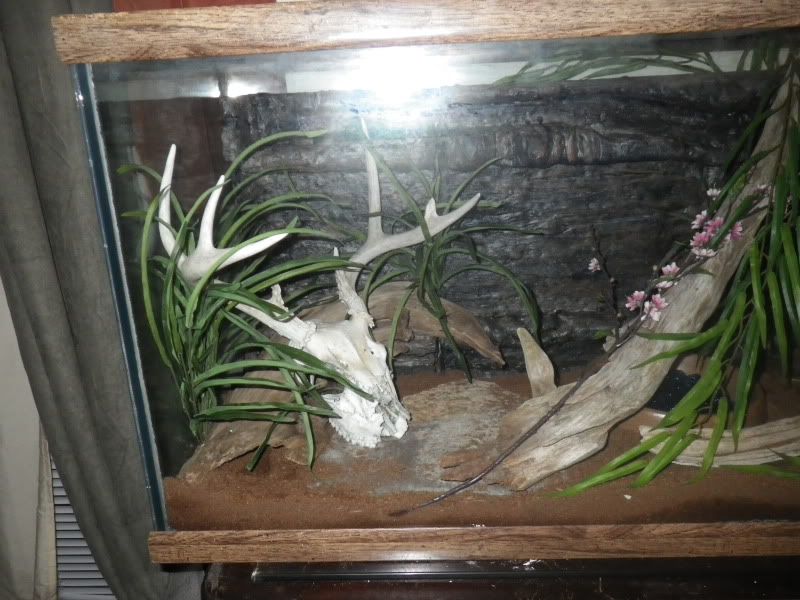
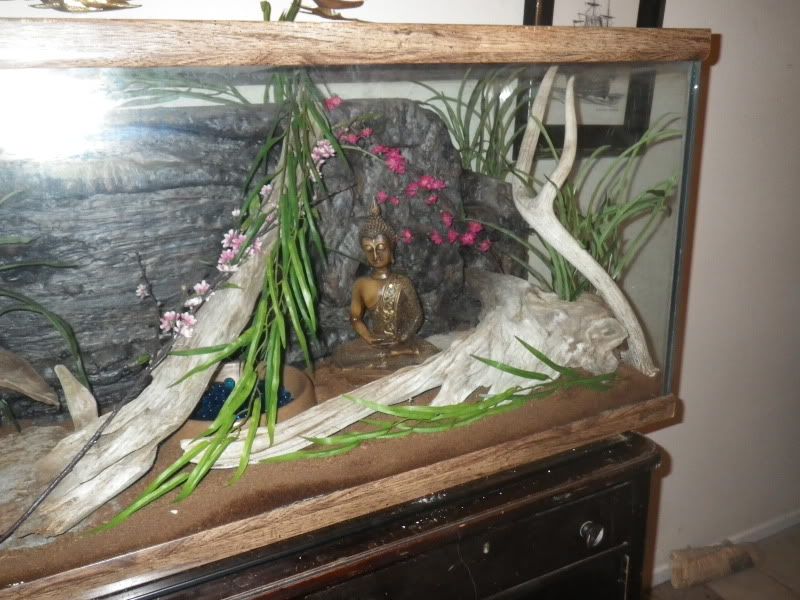
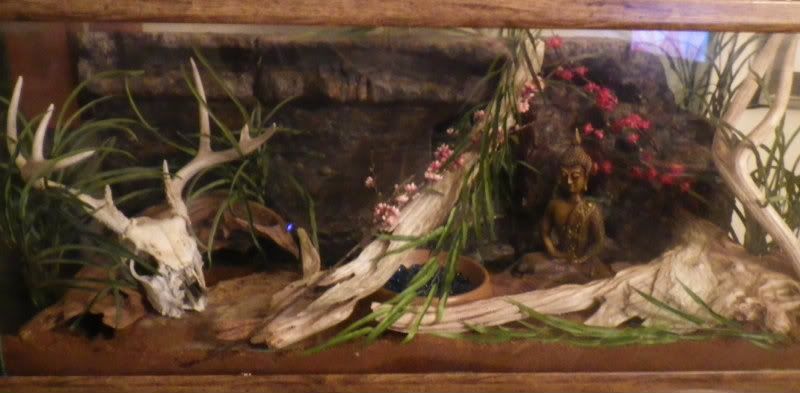
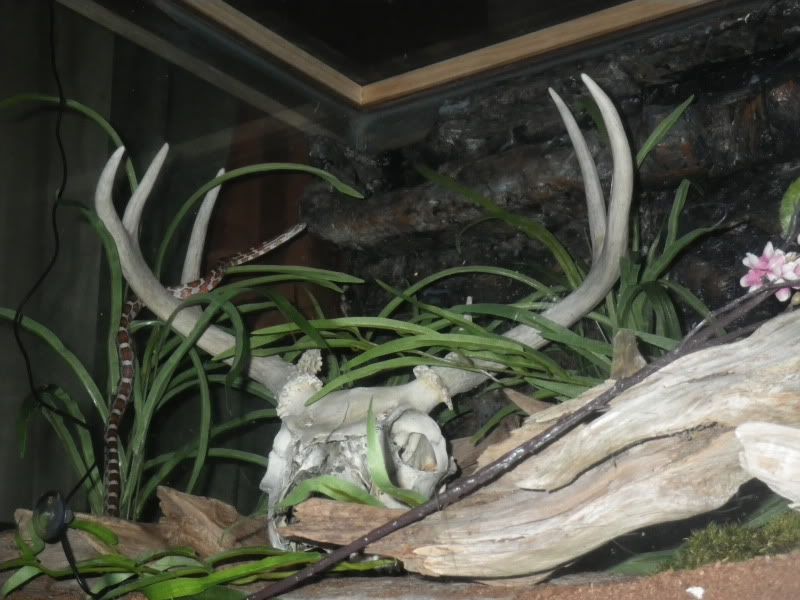
Adding the foliage to the nearly complete tank.

IMGP2664.jpg

IMGP2671.jpg

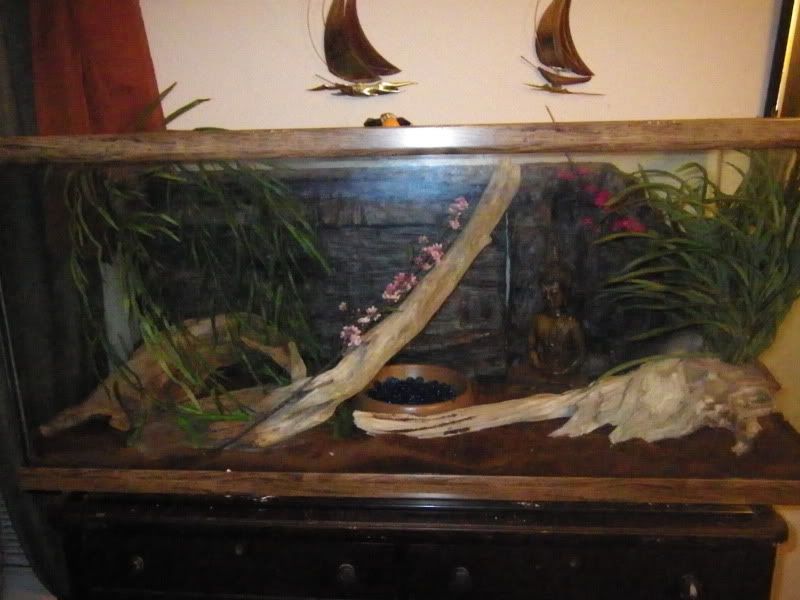
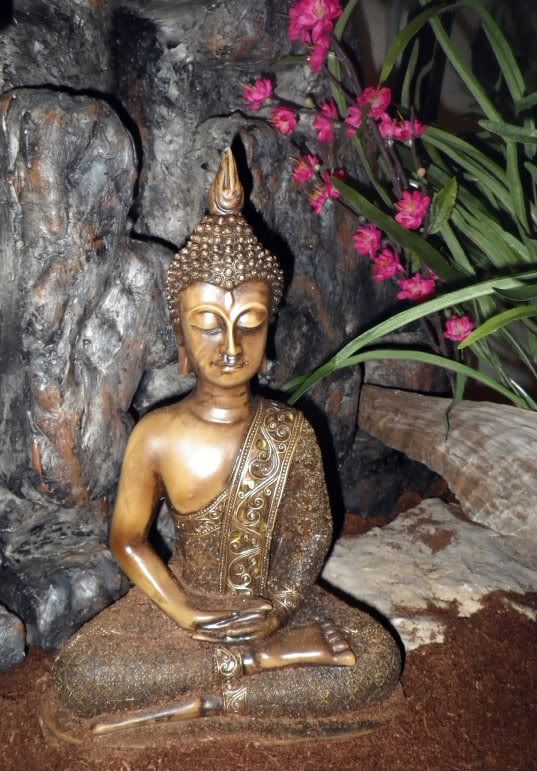
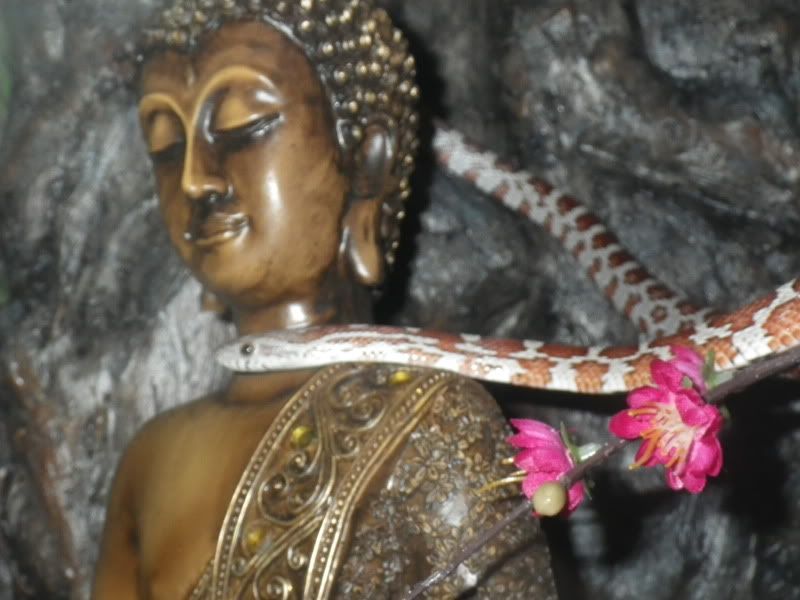
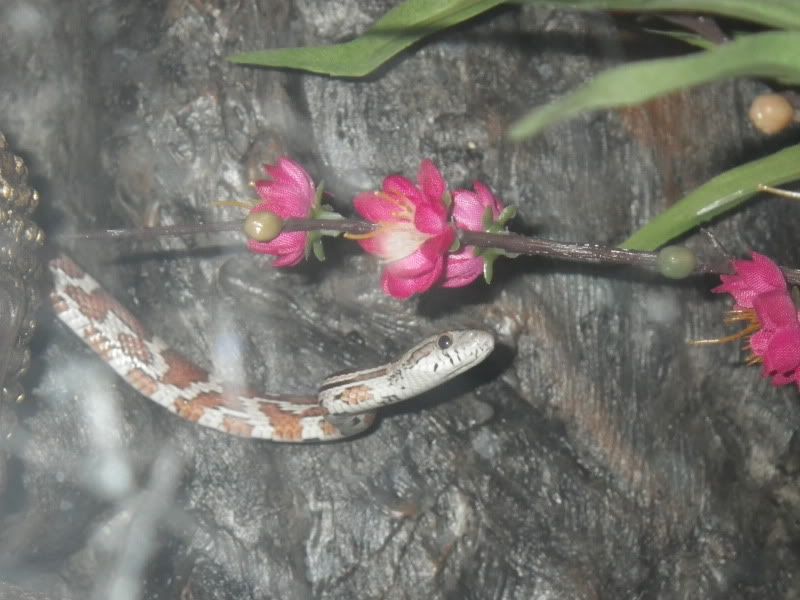
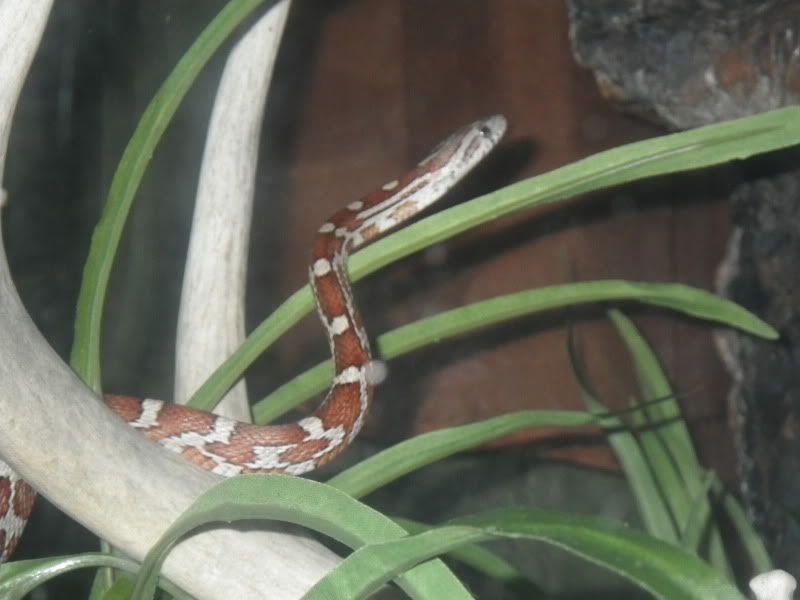
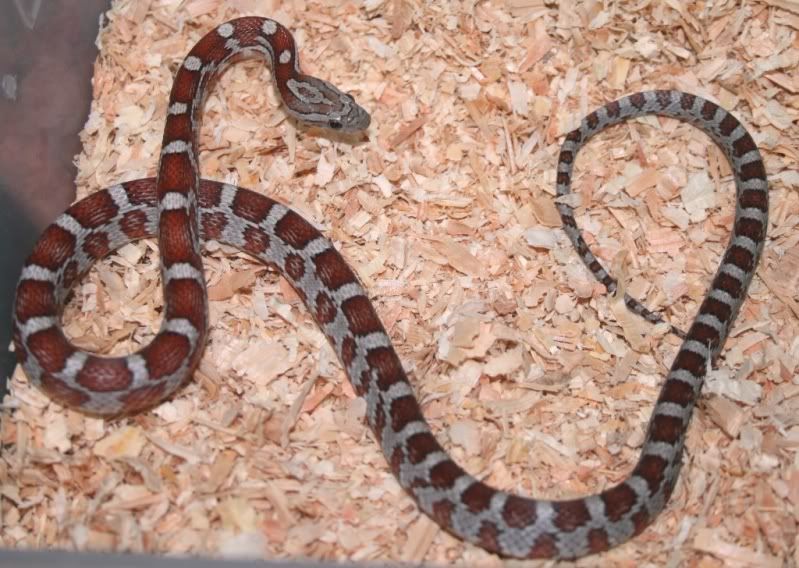
Highlight of the tank!

Thank you for viewing!
 
Currently we are looking for a sub adult or an older "baby". The tank is quite large and I'd hate to stress out a hatchling by having so much space.
 
That is quite fantastic!! I wish I was skilled enough to make such neat backgrounds :)
Your new baby will love that!
 
Thank you all for the complements! Just a little while ago the boyfriend and I started to play with the greenery and decided the tank was just missing something. I think we figured out what....

IMGP2677.jpg

IMGP2678.jpg


What is a naturalist Viv without a skull? Haha.

IMGP2680.jpg


We even decided to hollow out the inside of the nasal cavity, so there is no chance of the snake getting stuck. I worried briefly about the hole into the brain cavity where the spine attached, however with a little creative use of a cork, the hole is no longer accessible.
 
Fantastic! I love putting bones in my cages :)
I had a whole rib cage in one for a while. That looks really cool!
 
Looks awesome! My snakes enclosures look so desolate in comparison. Makes me feel bad now. Can't wait to get this build for my Colombian BCI done hopefully sooner than later, And add some decor to his and one of the others' homes' =]. But for all the decorating and planning I do, I've yet to see any of them actually use their accessories! Ughhhh.
 
That's awesome!! Cleaning might suck. When I take decorations out of their cages, that is the only time I spill aspen all over. But major kudos, this is incredible! I love the wood and how clean it looks :)
 
Hey guys! Thanks for all the replies, let's hope the new snake likes it as much as you all. If all goes to plan, we should be getting a yearling Miami soon. It's so exciting!

Lineman_dh we built the top ourselves out of 1-1/2 x 3/4 inch boards and about 6$ worth of No-See-Um netting. We measured the tank and cut the long front and back pieces to be the exact length of the tank, then the side pieces were cut to 3/4" over on each side to connect evenly with the long pieces. We nailed them together with 1-1/2" finishing nails making the first half of the frame for the lid. We then made it into an upside down L shape by adding 4 more pieces on the top of the frame, making a lip to catch the top of the tank.

After that was finished, we made 2 "doors" that each covered half of the lid frame, however our nails weren't long enough to hold them together, so we pre-drilled holes for some 3" screws. Then we used a staple gun to attach 2 layers of the mesh to the bottoms of the doors. The two layers makes the netting strong enough to hold the weight of a full grown Maine coon cat. (We don't encourage her to get up there, but since we do have two cats we made it more than strong enough just in case.) As a last step we added 4 hinges to the back of the frame and attached the doors.

We could go ahead now and add some locks to the front, but I think for now we are just going to use the old fashioned method of stacking things on it, we have some driftwood we didn't use inside the tank so we will be placing it there.

Here are a few pictures of it now that it is finished. If you want to ask anything more about it feel free. :)

IMGP2706.jpg

IMGP2705.jpg

IMGP2704.jpg

IMGP2703.jpg

IMGP2702.jpg
 
He's Here!

So our new snake came in on Wednesday, and we gave him until today to settle in and get used to his new home. He's been coming out and roaming the past two nights, so we decided to get some pictures!

Meet Jörm, short for Jörmungandr our little world snake. I'd like to say thank you to Carol for letting us purchase him from her and for just being awesome with the entire transaction. He's a yearling Miami 66% poss Cinder from her famous zombie lines. (Please excuse the glare from the flash, the tank didn't want to cooperate with me on these.)


IMGP2727.jpg


IMGP2724.jpg


IMGP2720.jpg

IMGP2721.jpg


And this is the picture Carol sent us when we asked about him.

IMG_3057.jpg
 
Back
Top