drizzt_19
What goes here???
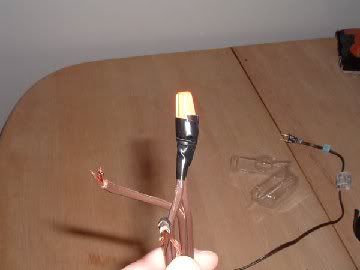
jrobinson said:what do you use for heat drizzt_19? didnt see an in the pic?
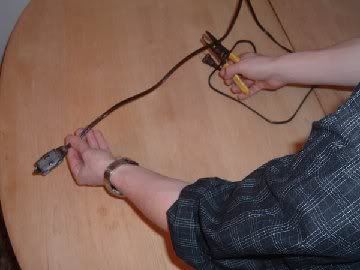
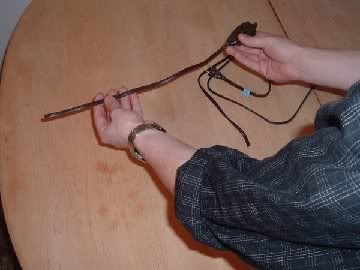
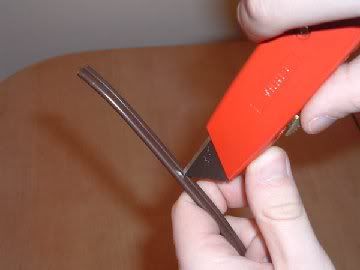
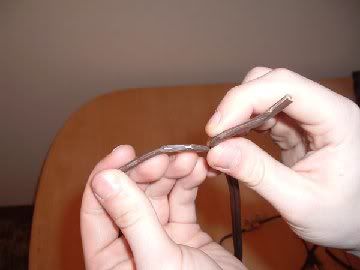
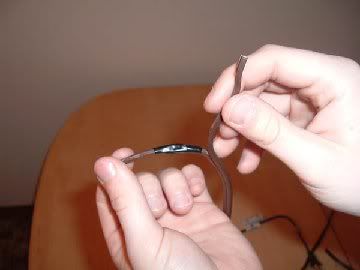
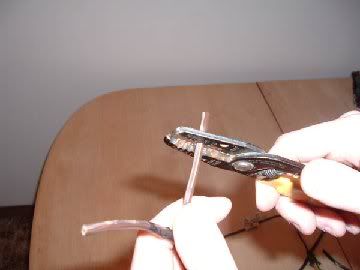
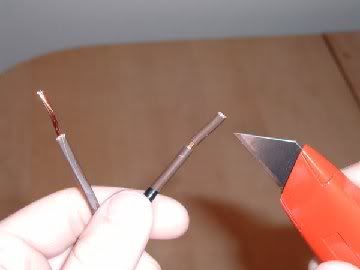
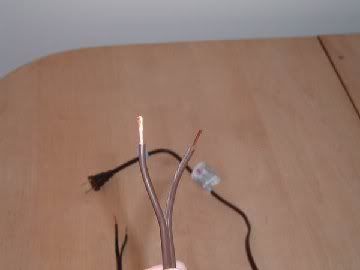
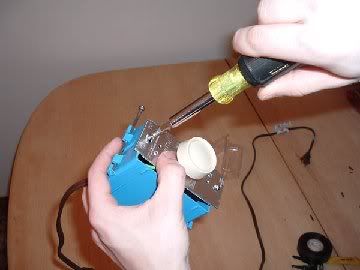
All the boards have a routered slot in them, near the back that contains heat rope...
jrobinson said:what do you use for heat drizzt_19? didnt see an in the pic?


JenC said:(bringing the thread back to life..its so helpful..still confused)
Great job Dan!!! Now..if only tehre was a guide like that for the building of the actual rack!!
pcar said:I am working on that. I am almost done with my second rack, and will soon be starting on a third. I am going to be taking play by play pictures so that you can see everything, and I will try to make some blueprint plans to show the length and width and all that good stuff. Probably won't get it up for a while though.
JenC said:(bringing the thread back to life..its so helpful..still confused)
Great job Dan!!! Now..if only tehre was a guide like that for the building of the actual rack!!
")
howiet4702 said:Almost going on your third? WOW! Someone's been busy :grin01:
Gronk said:Ok I need a guide to build a ceiling rack :grin01:
I'm out of room..lol..3 racks taking up my computer room! Between a desk and needing a crawl space to get to the bedroom I'm in trouble....
Thank God for understanding Wives
Trying to contact you, with no avail, about help with a rack. I believe that you stated if someone was in TX you would help them is there a way to contact you. Please email me at [email protected].CAV said:I order all of my heating supplies from The Beanfarm.
The racks will work for multiple species as long as both the space and heating requirements are similar (ie both lizard and snake need 82F)