• Hello!

    Either you have not registered on this site yet, or you are registered but have not logged in. In either case, you will not be able to use the full functionality of this site until you have registered, and then logged in after your registration has been approved.

    Registration is FREE, so please register so you can participate instead of remaining a lurker....

    Please be certain that the location field is correctly filled out when you register. All registrations that appear to be bogus will be rejected. Which means that if your location field does NOT match the actual location of your registration IP address, then your registration will be rejected.

    Sorry about the strictness of this requirement, but it is necessary to block spammers and scammers at the door as much as possible.

Landscape/Hides

Destarte

Corn Addict.
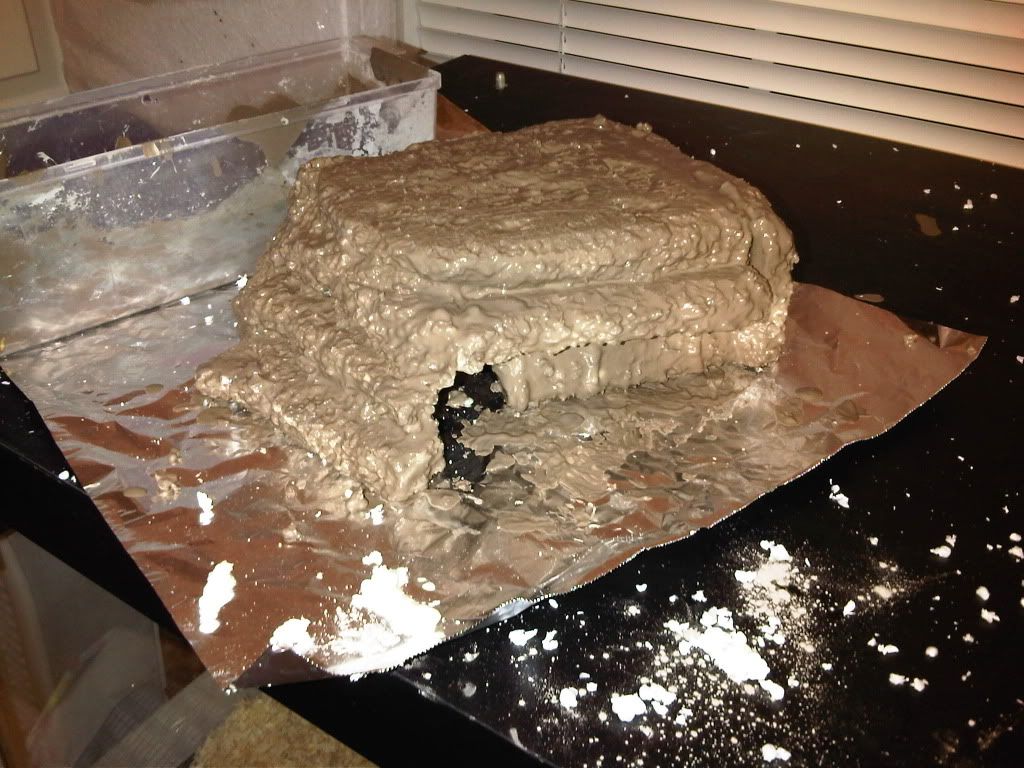
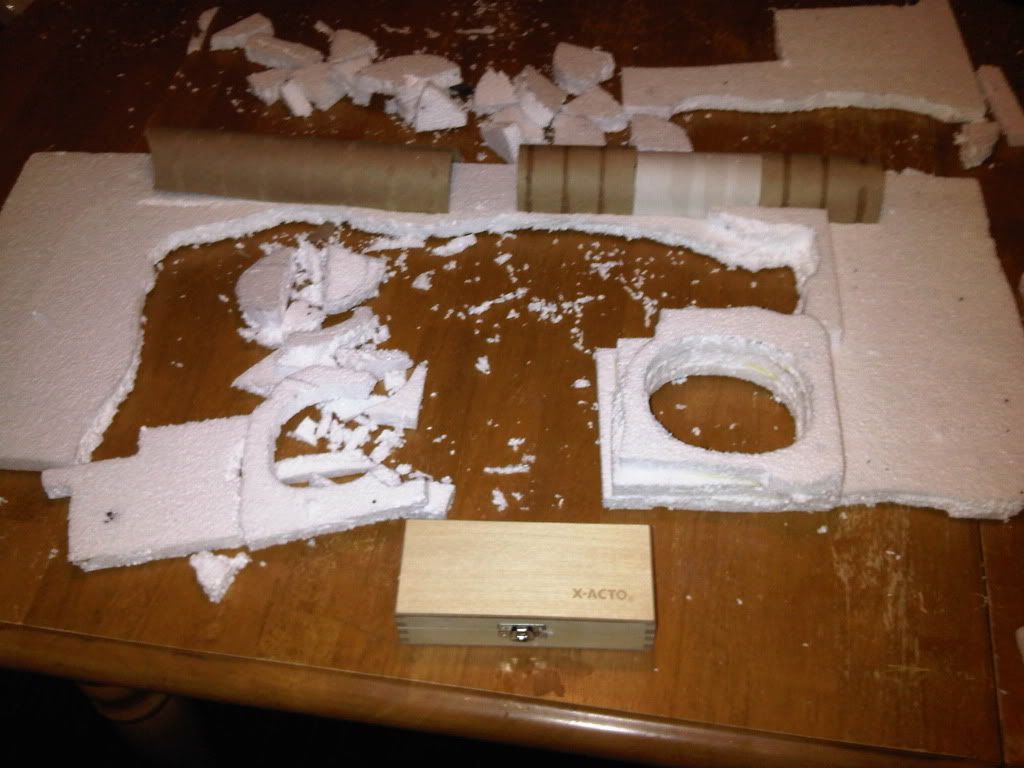
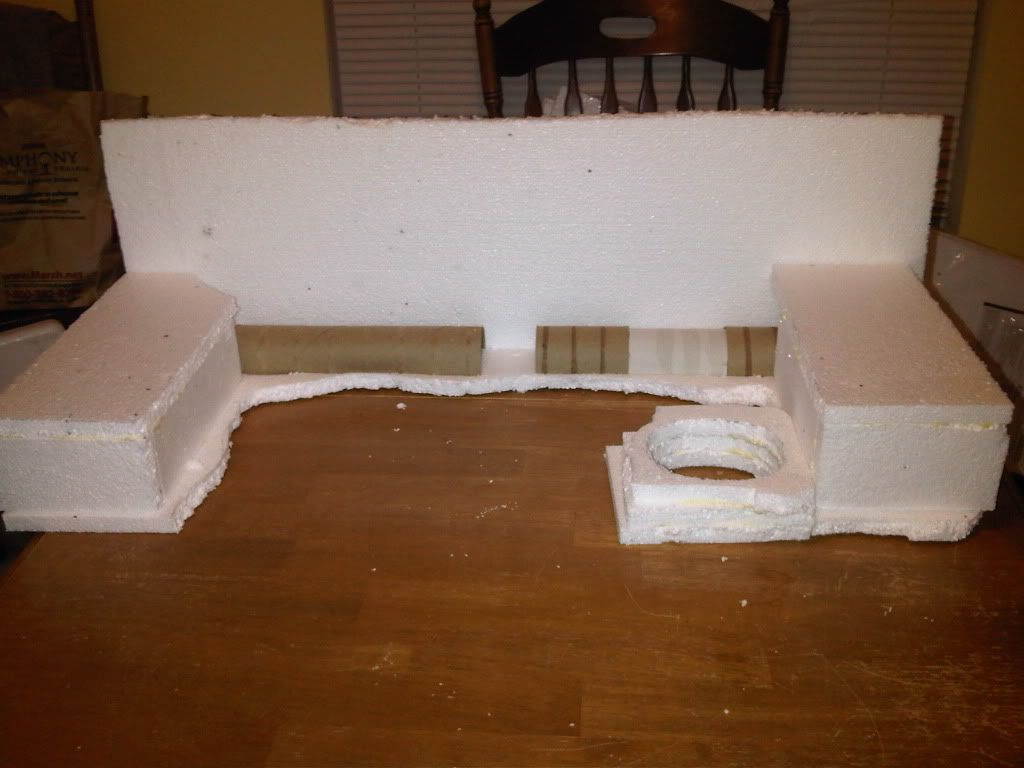
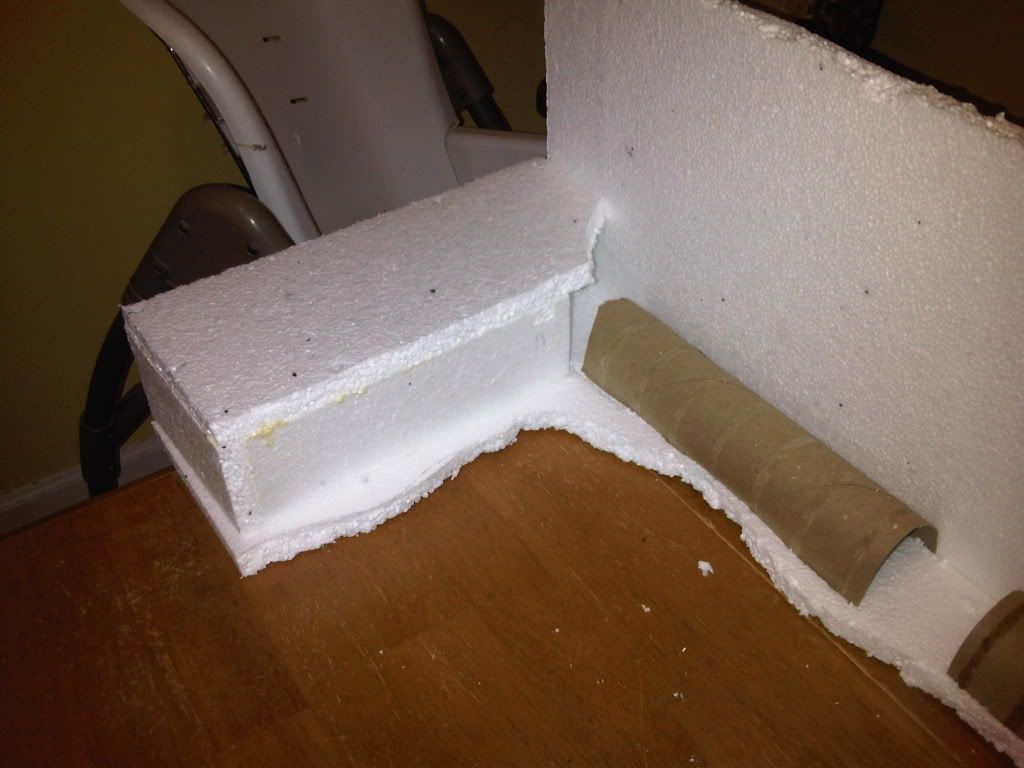
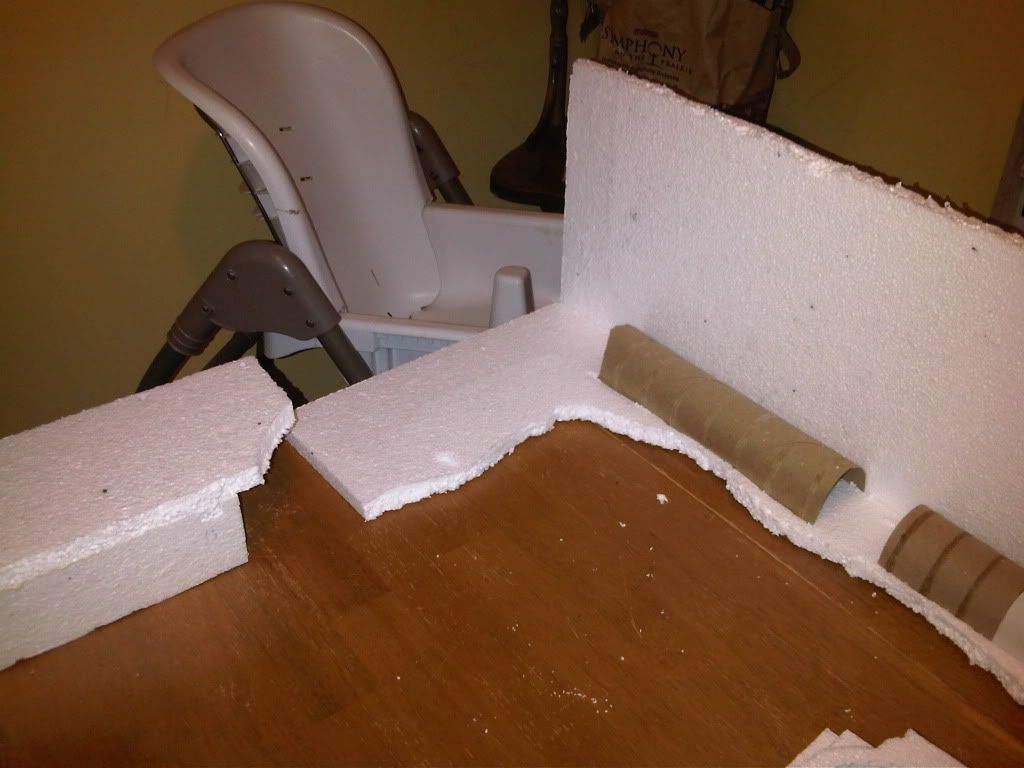
I didn't want to hijack anyone else's thread, so I figured I'd post my own. These hides are thanks to the DIY videos on lizard-landscapes.com. I'm nowhere near complete on my landscape, but I did finish a small hide that was seriously needed for one of my babies. Here's a few photos. I'll update the thread as I complete the landscape. Any suggestions are welcome.

Zeus' new hide:
IMG-20111022-00369.jpg

IMG-20111023-00370.jpg

IMG-20111023-00372.jpg


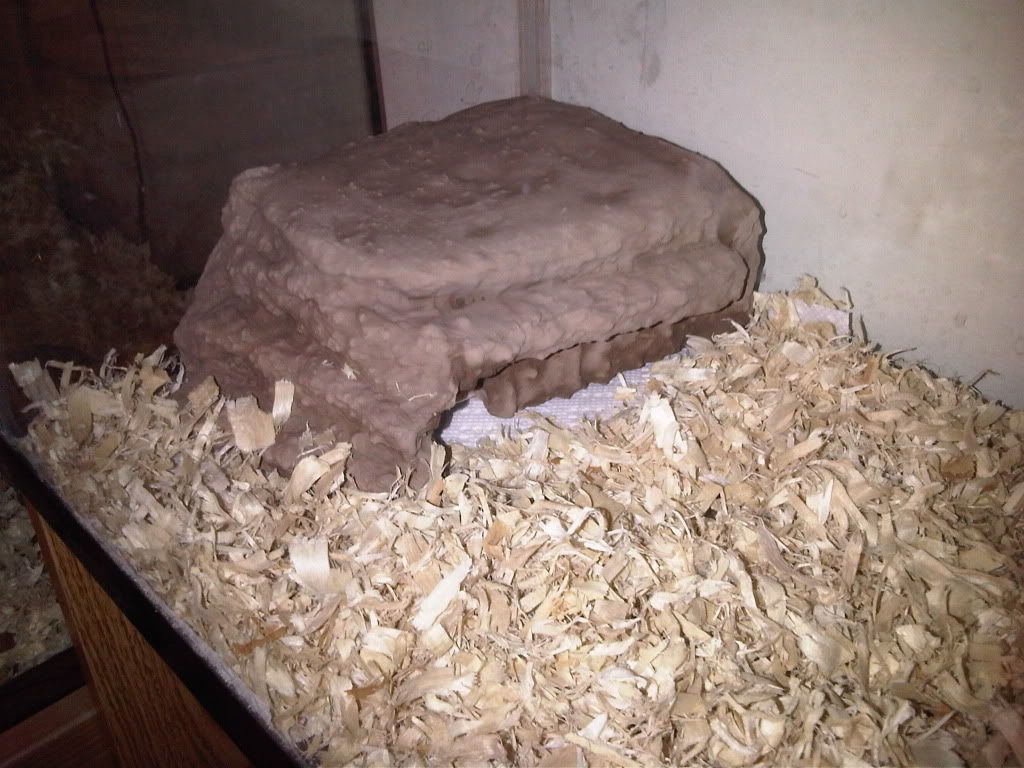
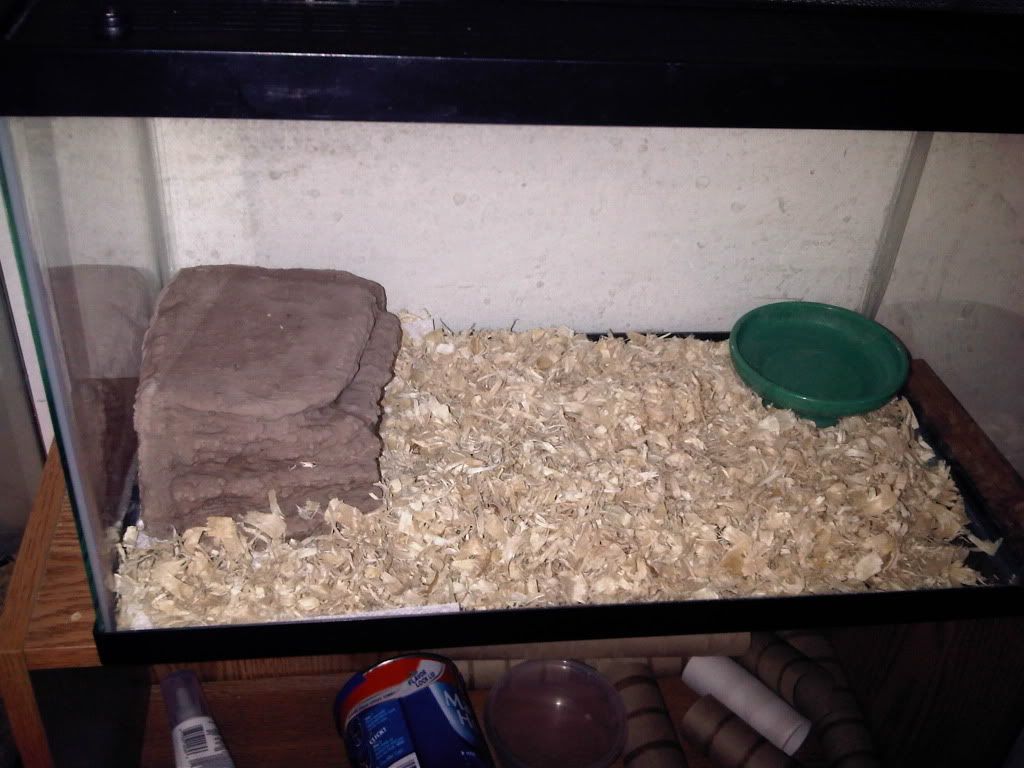
Landscape for the 40g:
IMG-20111023-00373.jpg

IMG-20111023-00374.jpg

IMG-20111023-00377.jpg

IMG-20111023-00378.jpg

IMG-20111023-00375.jpg

IMG-20111023-00376.jpg

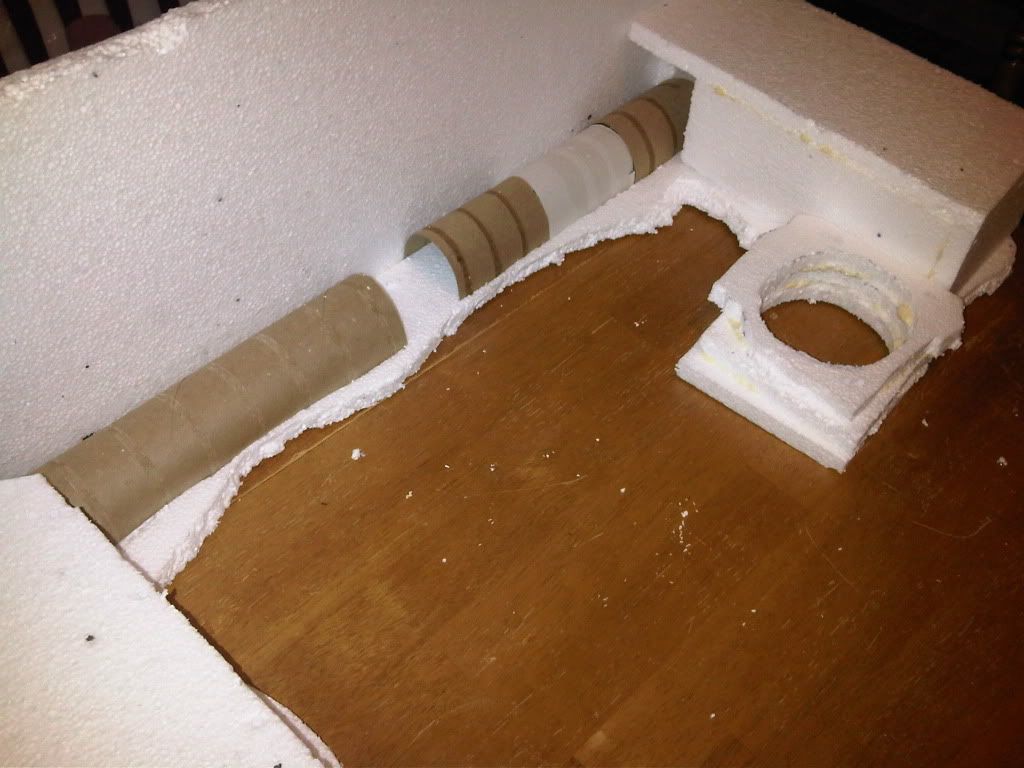
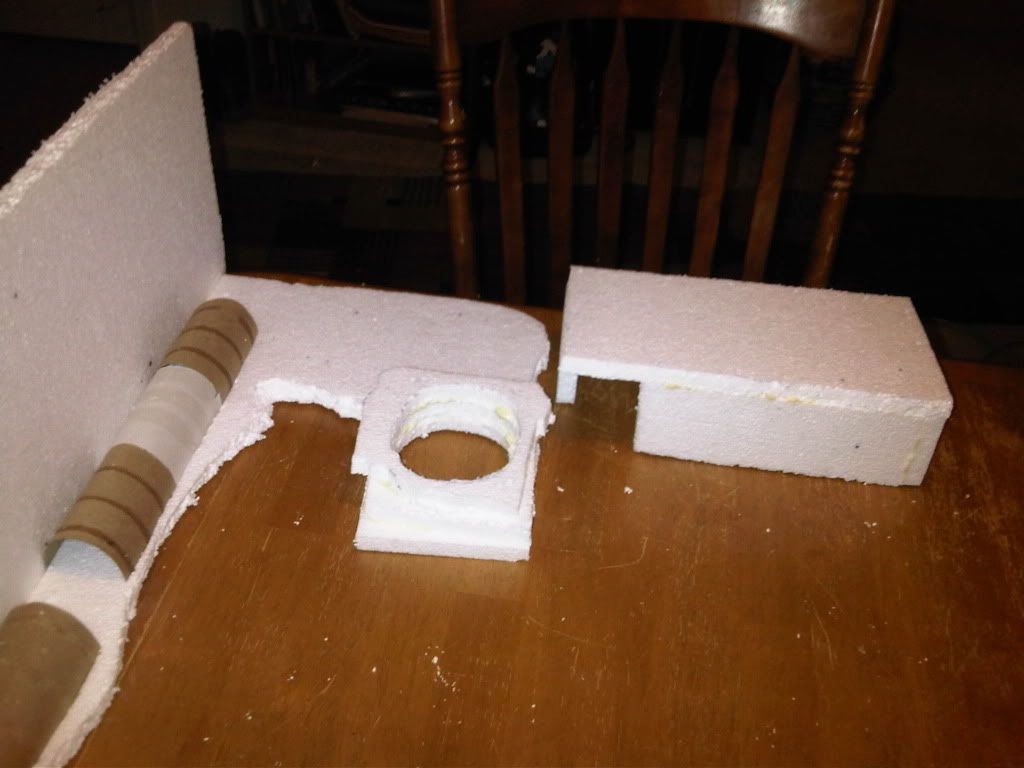
I have a bowl I measured for this hole, so I can just slip it out when I need to refill and clean it.
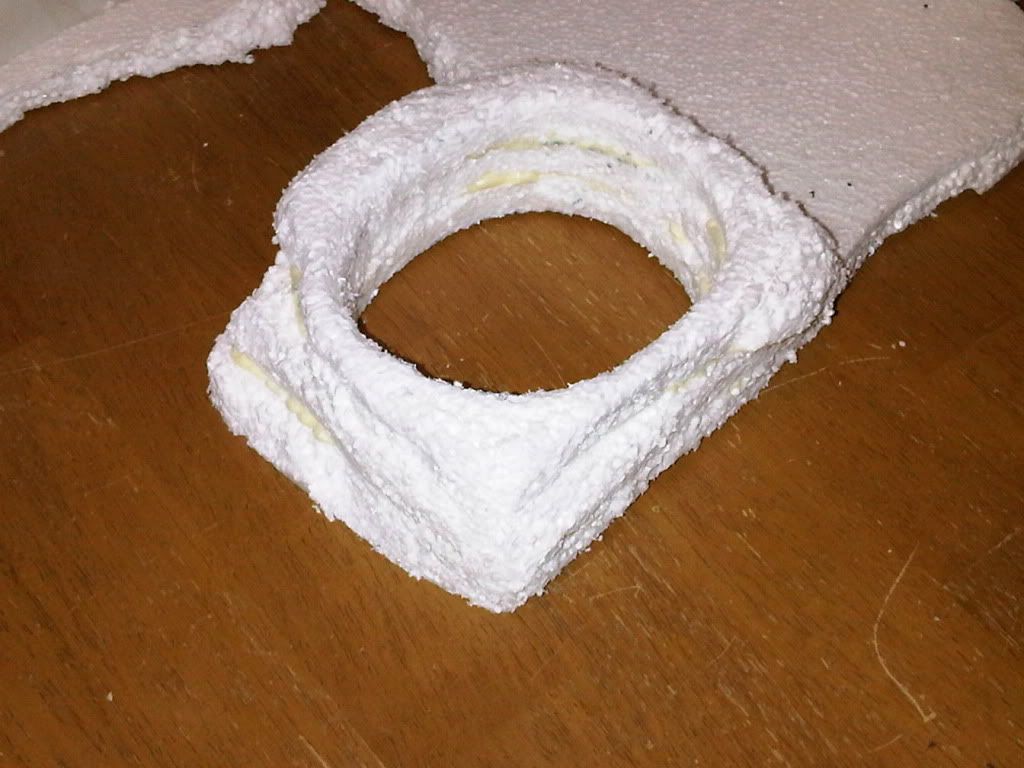
IMG-20111023-00379.jpg
 
I went ahead and removed the Styrofoam under the warm side since the foam would've soaked up all the heat. I was thinking about maybe putting a bridge/basking platform across the middle, attached to the back... But I don't know yet.
 
wow thats an awesome looking start to the background! be sure to post more pics when its done! i like the water bowl cup holder too haha
 
The small one took me a little over an hour all together. Very simple. The drying took the longest. I used toothpicks to hold everything together while it dried, just so I could work on the whole thing without having to wait for each individual piece to dry. I'm hoping to get about halfway done with the big one tomorrow and start the grout on Tuesday. :)
 
Any of them will work. Honestly, you don't even need the videos. Just get the supplies, it's pretty self explanatory.

Styrofoam
Sandless grout
Non-toxic industrial glue (Gorilla Glue in my case)
Toothpicks
Acrylic paint if you're painting.
Some sort of non-toxic water-based sealant such as Mod Pudge.
 
There is an awesome waterfall how-to on that site for your water dragon. And most everything else is focused on beardies. It literaly only cost me 20$ so far and I still have enough materials to make another 40g landscape if I wanted.
 
Just FYI Cassandra - the Mod Podge is water soluble so you'd need a different finish coat for the water dragons. I am not sure what b/c I didn't find any when I was looking. I think it might be on that video sight somewhere, I wrote it down but can't remember the name.

Destarte - it looks like the grout is gold on the first pic then more neutral toned - was that the drying? Also it looks almost 2 toned in the finished pic - is it different grout or is it the flash or something? I got white grout since I'm painting mine with textured paint.
 
The first pic is it super wet. The 2 toned is from thicker/thinner coats and the flash. I haven't done much work on it today. Feeling lethargic. I sculpted the two hides and coated one with grout... Like I said, lazy day.
 
I'm lazy too. Really lazy today. Have you ever seen the Honey Badger video? it's so funny. That sounds random, but I've been watching it several times lately and I want a t-shirt.

I need to get my bigger snakes to see how big the hides need to be. I think the 2 I ordered from Petco should fit my 1 year old and hopefully Bruce, the 6 year old. if not, I'll make a larger one.
 
Back
Top