Follow along with the video below to see how to install our site as a web app on your home screen.
Note: This feature may not be available in some browsers.
Hello!
Either you have not registered on this site yet, or you are registered but have not logged in. In either case, you will not be able to use the full functionality of this site until you have registered, and then logged in after your registration has been approved.
Registration is FREE, so please register so you can participate instead of remaining a lurker....
Please be certain that the location field is correctly filled out when you register. All registrations that appear to be bogus will be rejected. Which means that if your location field does NOT match the actual location of your registration IP address, then your registration will be rejected.
Sorry about the strictness of this requirement, but it is necessary to block spammers and scammers at the door as much as possible.
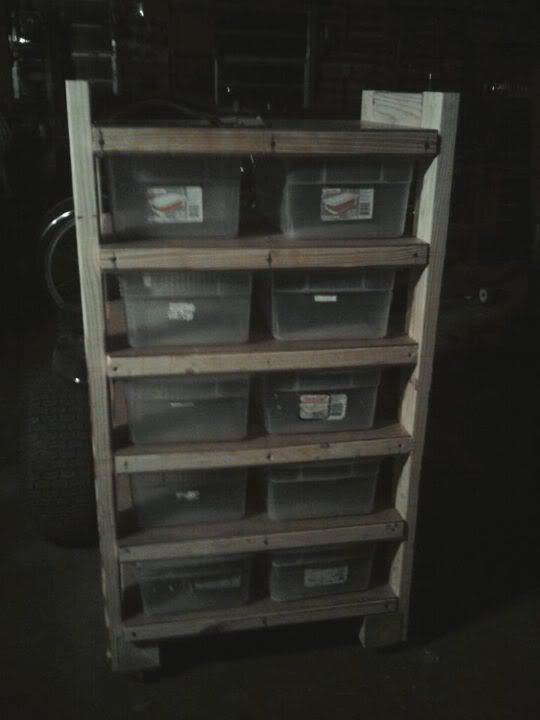
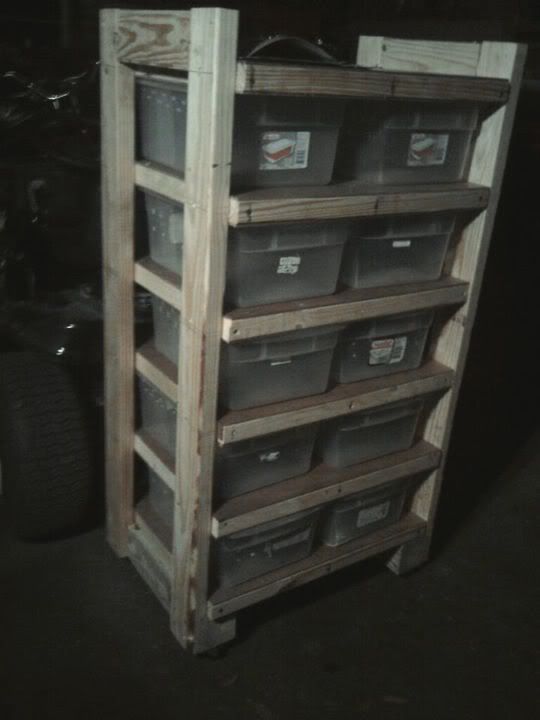
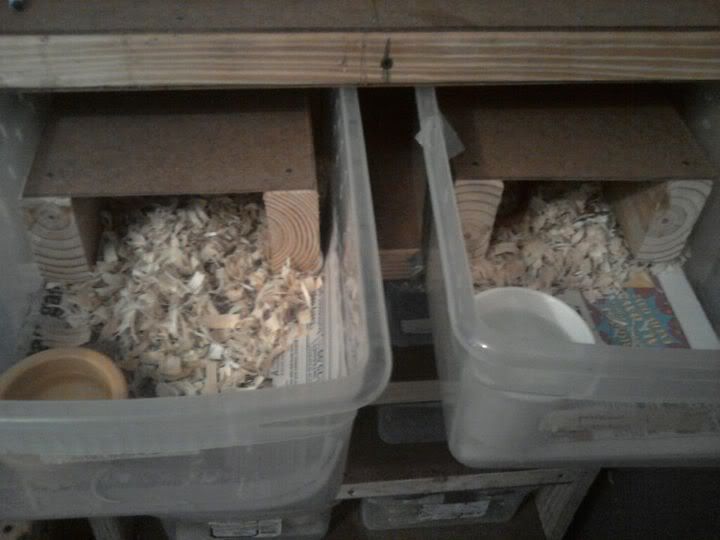
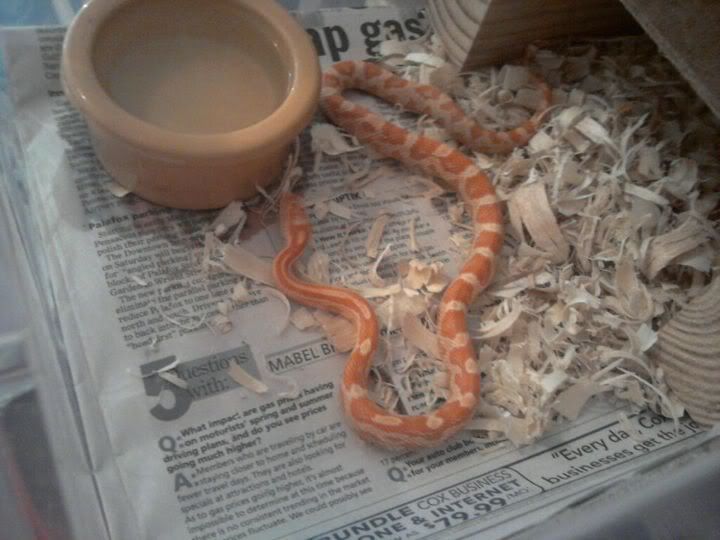
So over the past two weeks my dad's been working on my yearling rack. It is finally finished! He finished it yesterday (or the day before? Not sure..I've been sick)...but I got it in the house today and decided to use the scrap pieces of wood and build a couple of hides for the rack. I only took some pictures - as I had 10 to set up and move snakes into. (only moved 8 into the rack so far).
We used hardboard (I think thats what its called) and 8 ft sheets of 2 x 4's ( i believe) to build both the rack system and the hides. The bins I already had after someone donated a ton to me.
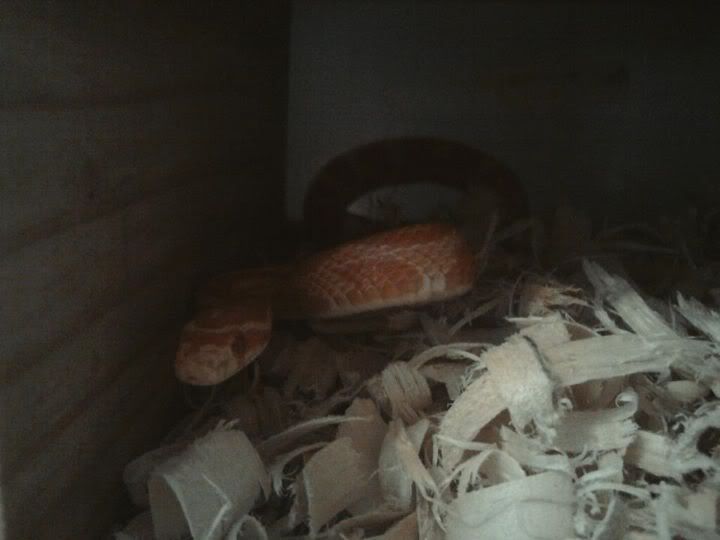
Sorry for dim-lighting - took the pictures at night while it was still in the garage.
First two are set up! You can see the hides I made. I used newspaper and aspen for substrate.
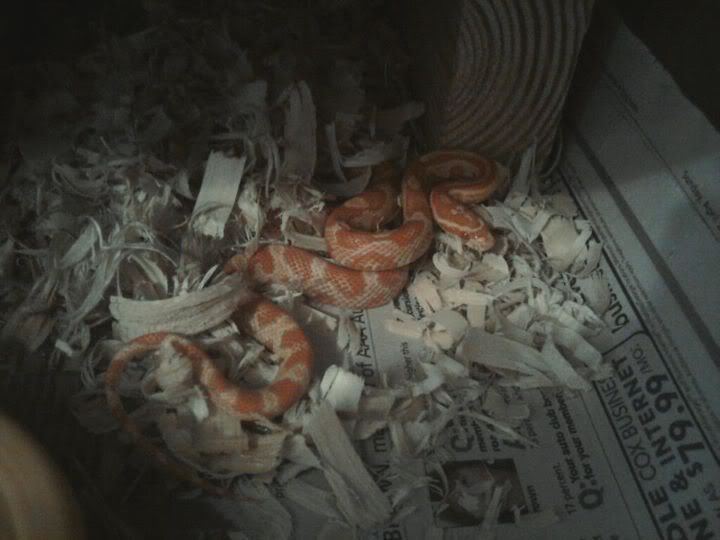
See next post for the handful of pics I took of the snakes when I first put them in. None of them knew what to do with the extra space!
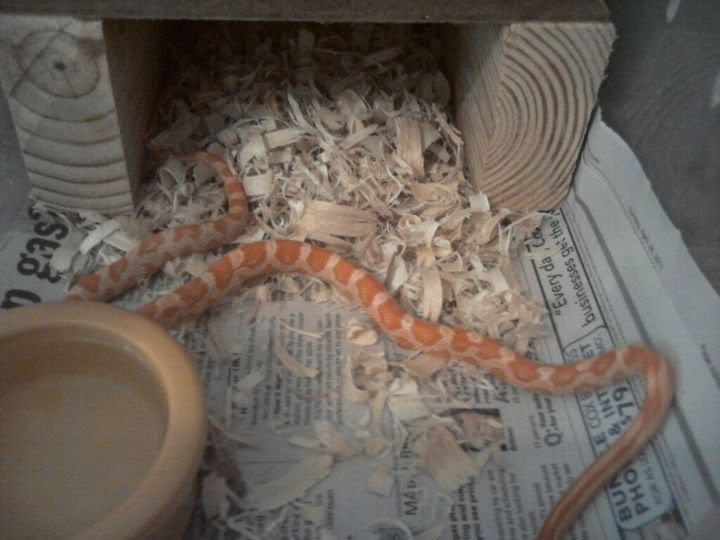
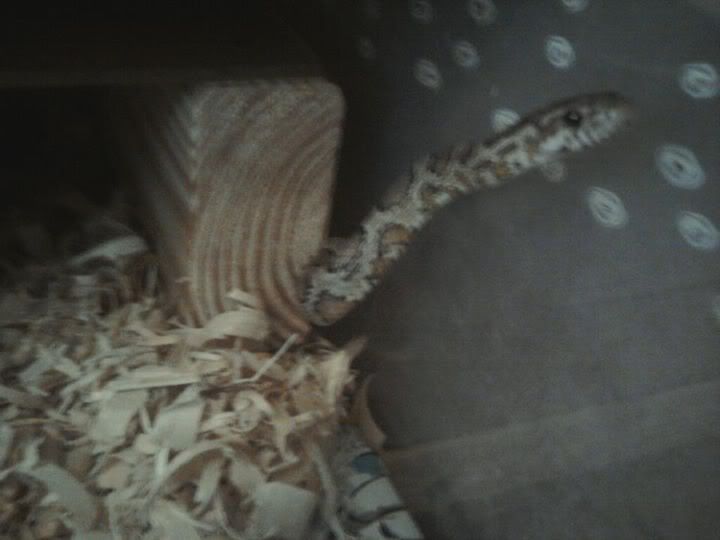
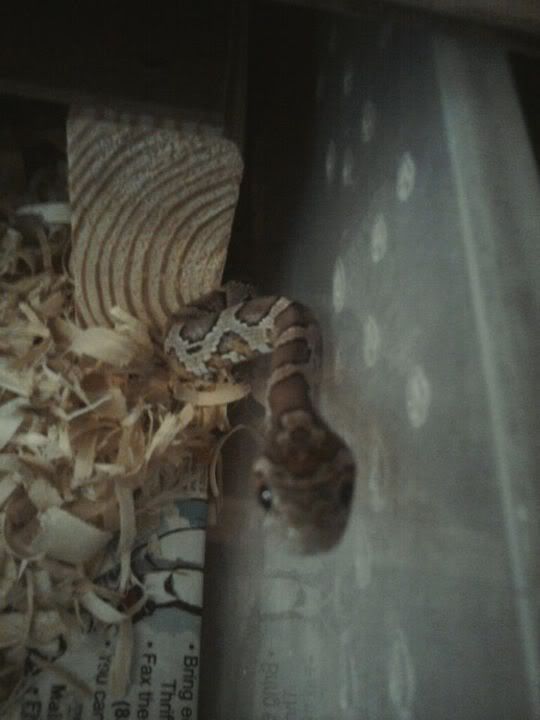
First up is my 2010 amel motley - she's the first one who went in and she was everywhere. In the hide, outside of the hide - on top of it!
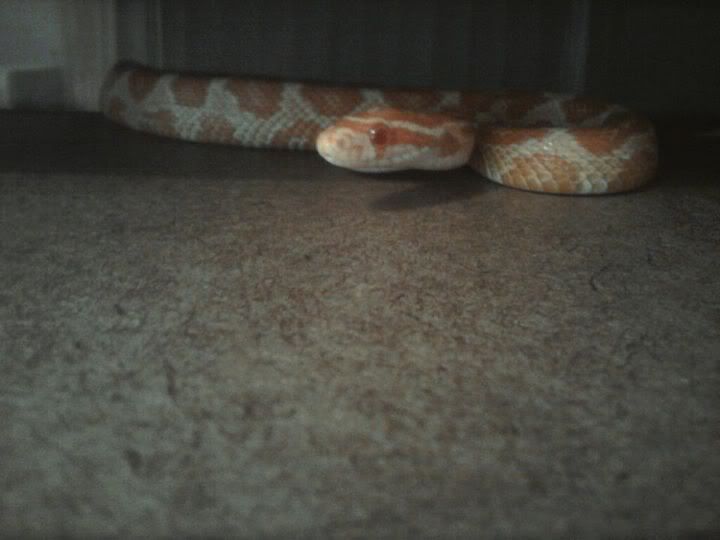
Next up is my 2010 anery het amel, motley, hypo, lavender.
She dove right into the hide and then came out the other side and decided to investigate my phone.
THanks Nanci! There is a slight issue with the bottom two shelves where its extremely tight - but I can still work with it no problem. Dad thinks somewhere along the lines he made an error and plans to fix it in the next one we make - same design but with adult bins.
And it works too! It's tight and they can't push out or fit out the top at all.
Yeah, we actually sanded down two of them - one sanding broke right through the bins. It helped a little bit - dad even tried using some lube stuff to make it work and it was still rather tight. However, its not like...impossible to get out. Its just tough. I can deal with it - it won't bother me at all and it'll just be extra secure so they can't accidentally push themselves out!
I haven't thought about sanding down the rims - but the rims are extremely thin and I actually broke the rim on one by accident. Its only the two shelves too, and only on ONE side. Dad thinks that it just moved a bit when he was screwing them in and they aren't 100% balanced or something - since all the other shelves are fine.