• Hello!

    Either you have not registered on this site yet, or you are registered but have not logged in. In either case, you will not be able to use the full functionality of this site until you have registered, and then logged in after your registration has been approved.

    Registration is FREE, so please register so you can participate instead of remaining a lurker....

    Please be certain that the location field is correctly filled out when you register. All registrations that appear to be bogus will be rejected. Which means that if your location field does NOT match the actual location of your registration IP address, then your registration will be rejected.

    Sorry about the strictness of this requirement, but it is necessary to block spammers and scammers at the door as much as possible.

DYI Racks

Old_School

Old School Colubrids
Just finished making the last of 3 racks for my corns. Used Melamine and I'm very happy with it. Yes I know its heavy, but I own my house with no plans of moving. Tubs are lidless, except the hatchling shoe boxes. Anyway here are a few pics
DSCN2892.jpg

DSCN2895.jpg

DSCN2898.jpg

DSCN2901.jpg

DSCN2867.jpg
 
Looks really good. I know the melamine is heavy and more expensive than other alternatives but that looks fantastic. I am really impressed, great job.
 
Those look good! Any dimensions/design plans so we can build them, too?

Thanks to home depot, it can't be any easier.
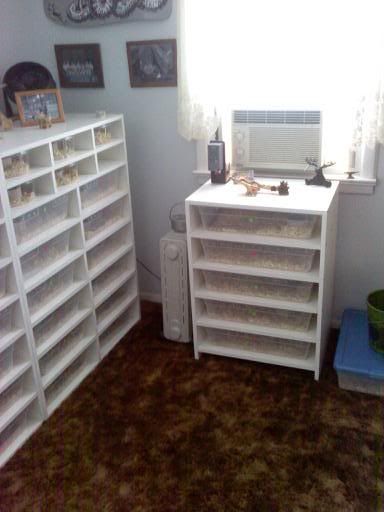
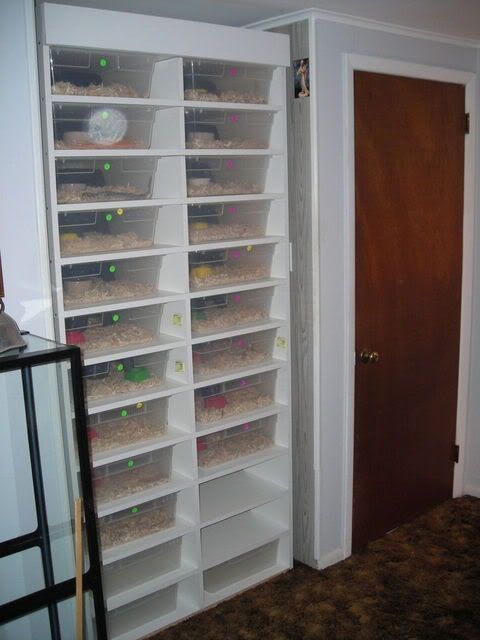
they sell their melamine in 2'x4' pieces which makes getting them home easy. I used 17 of these boards to construct the 7' rack I cut 1' off all the boards that will be the shelves.
I use 2 full 4' boards for the sides of the smaller racks. On the 7' rack I had to cut the 2 upper side boards to 3' cuz me ceiling is not 8'.
so every board but your sides gets cut to 36''. don't worry about that 1' of each board as they will get used later.
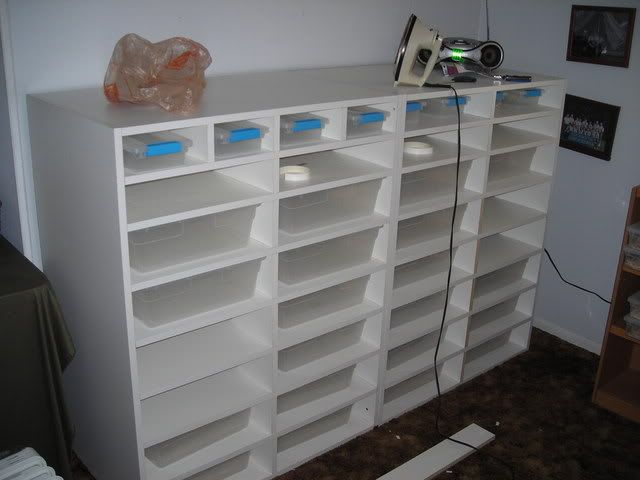
Then its pretty easy, place 2 tubs on the first level and put a couple of folded index cards or something on the tub corners for spacers. all you need is a couple of 16ths of an inch spacer.
place the next shelve on top of that and secure in place( coarse sheet rock screws, I use 1-5/8" screws. take the time to pre drill the screw holes to prevent the melamine from splitting when putting in the screws.
then just keep adding shelves in the same manner all the way up.
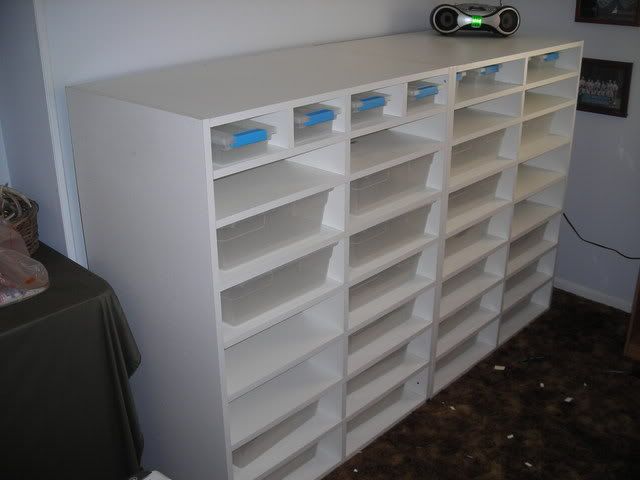
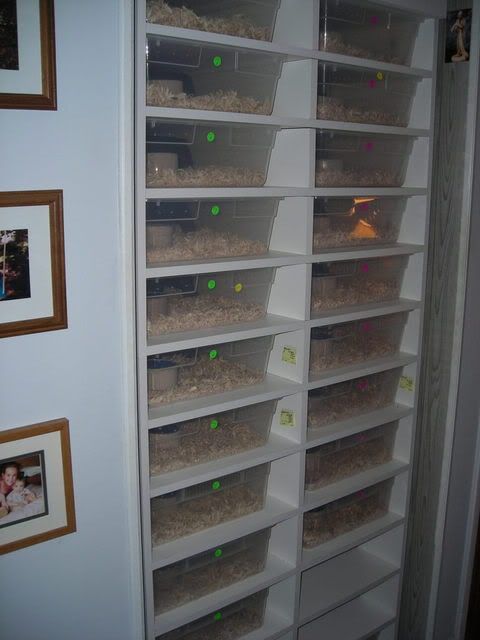
when you finish the first shelf, check your spacing to ensure the tubs slide in and out easily but not too much space to allow escape.
Now when your done take those 1' left over pieces and cut them to use as center support in the middle of each shelve. This will prevent sagging of the shelf later down the road. Now each shelf will have 2 spots that will hold a tub. I do not use casters as I feel they could only lead to sagging later.
and to dress it all up nice, there is 3/4'' iron on melamine to do all the front to cover all the unfinished edges. Oh almost forgot, I use pegboard for the backing. Hope this is not too confusing, sorry its long. hope it helps!
 
I keep my room at 82 degrees by day and 77 at night. I do not run heat in the racks but heat tape would be the way to go.
 
I have decided that once I have 4+ snakes I will force my boyfriend into building me a rack. Great thread!
 
wow that looks great! I love your decorating too ;) Is that lizard painted on the wall or is it a semi-3d object?
its a 3-d piece. It is metal that has been bent, holes torched through, and painted. it really is cool, pics don't show the piece well. I found it at a odds and ends type store. only $30.00.:dancer:
 
That's awesome! Thanks for elaborating and taking a picture of it. sweet deal IMO. Metal isn't an easy medium sometimes.
 
Did not travel this weekend as I had to work Sat., so I decided i would make use of some spare time this morning. Built this small rack to house the 5 corns I had stacked in tubs as I was out of rack space.
101.jpg
 
Back
Top